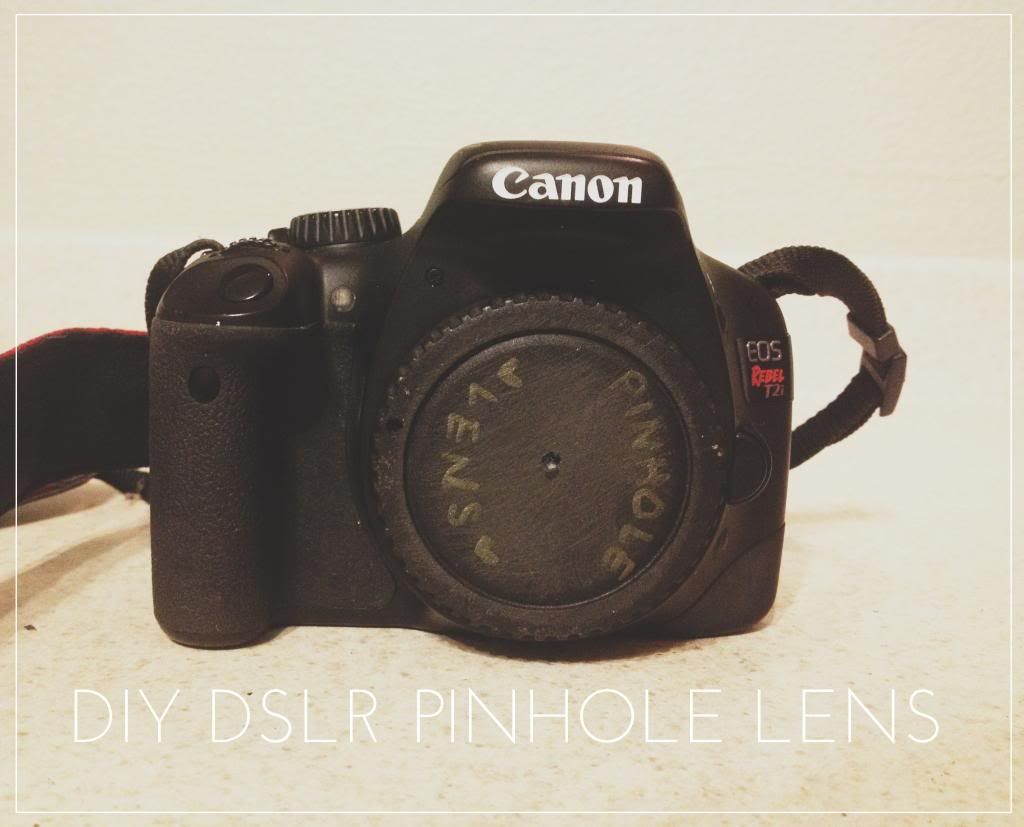
I have been looking for new and fun ways to spice up my photography, and I always love a fun DIY Project. I was thrilled when I found a ton of great instructionals online for a DIY digital pinhole lens for my DSLR.
It was pretty simple to make, and its a great accessory to have when you want to create dramatic photographs with a vintage touch.
First let me explain to you exactly what Pinhole Photography is...
Pinhole photography is basically photographing a subject without a lens. The lens is replaced by a tiny pinhole, that allows light to pass through thus creating the photograph.
Pinhole cameras are super easy to make, and fun to play around with if you have the time and money to develop film. I however, being the impatient woman I am, decided i needed something for my DSLR. I found a lot of different ways online to do this, and so I constructed a pinhole lens out of an old camera cap.
Ill show you how I did it :)
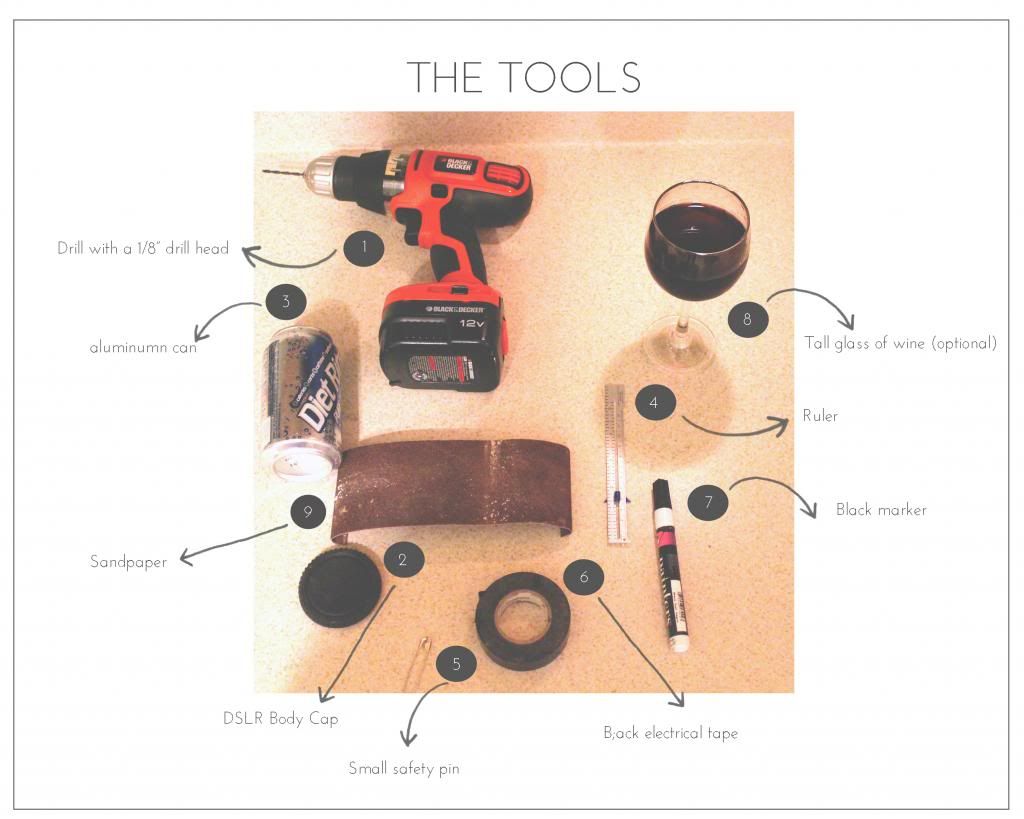
You will need:
- Drill with a 1/8" drill bit
- Aluminum Can
- Sandpaper
- DSLR Body Cap
- Small Safety Pin
- Black Electrical tape
- Black Marker
- Ruler
- Glass of wine (because it makes DIY that much more fun)
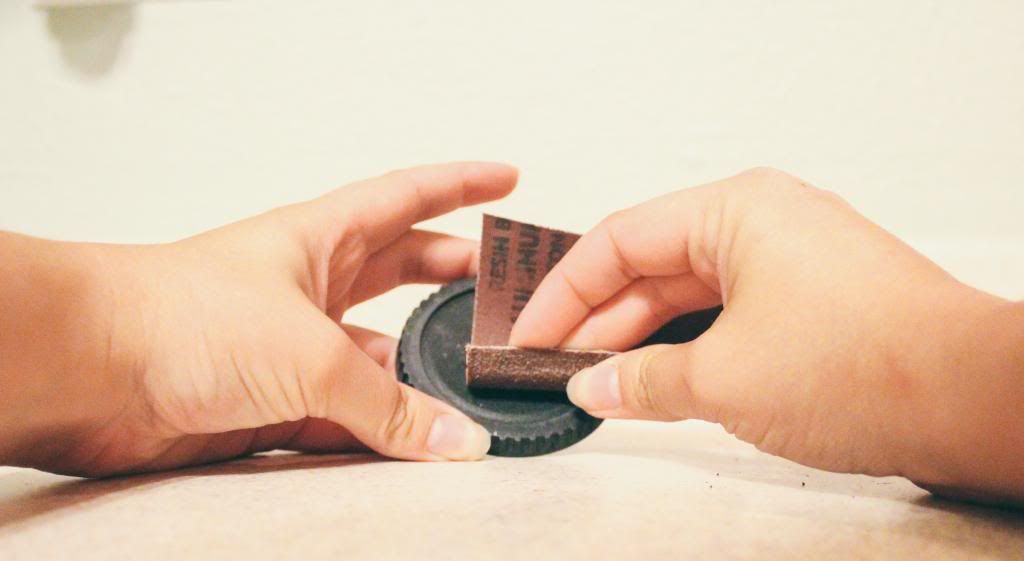
STEP ONE: SAND YOUR BODY CAP
This will make drilling a bit easier.
Go ahead and sand the surface of your body cap until the brand name is no longer visible. Smooth it out, it doesnt have to be perfect, just easy enough to work with.
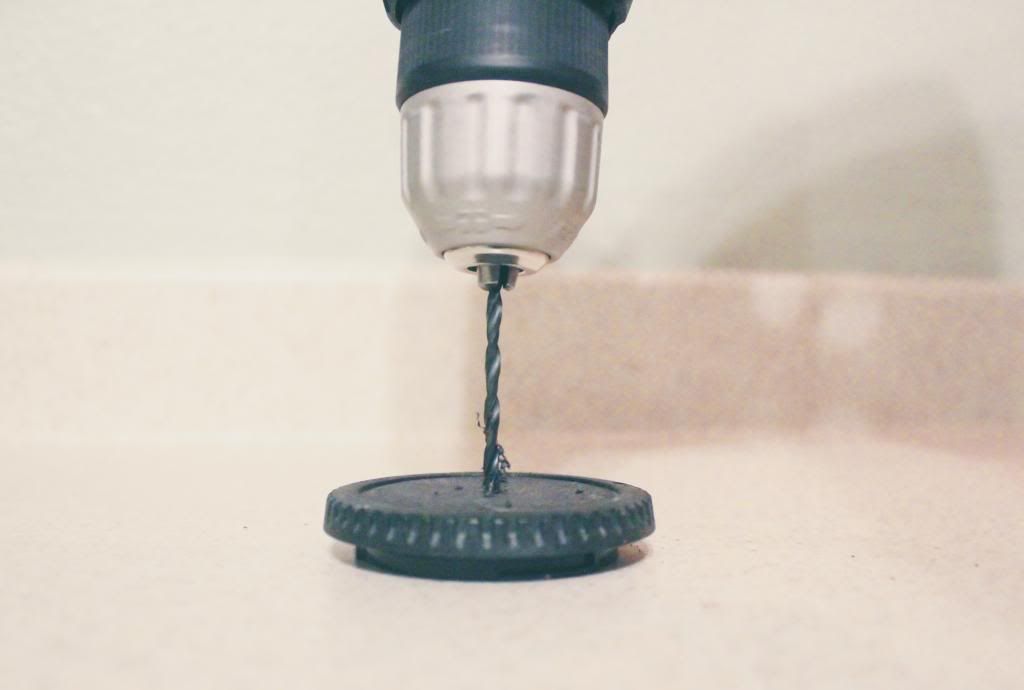
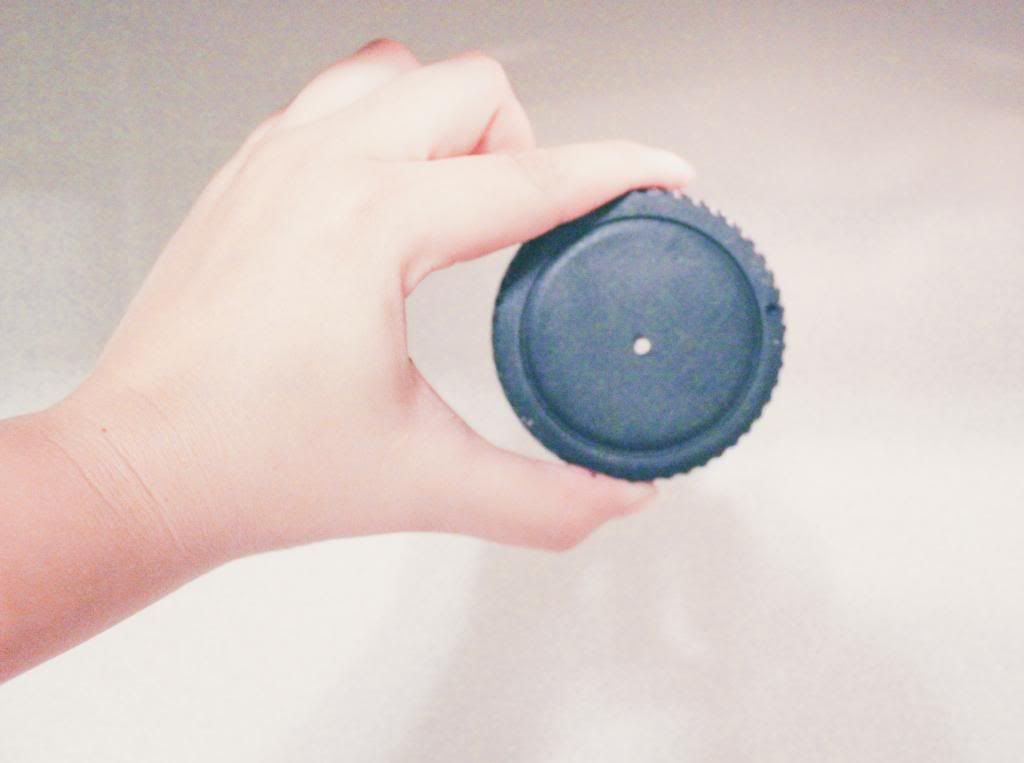
STEP TWO: DRILL A HOLE
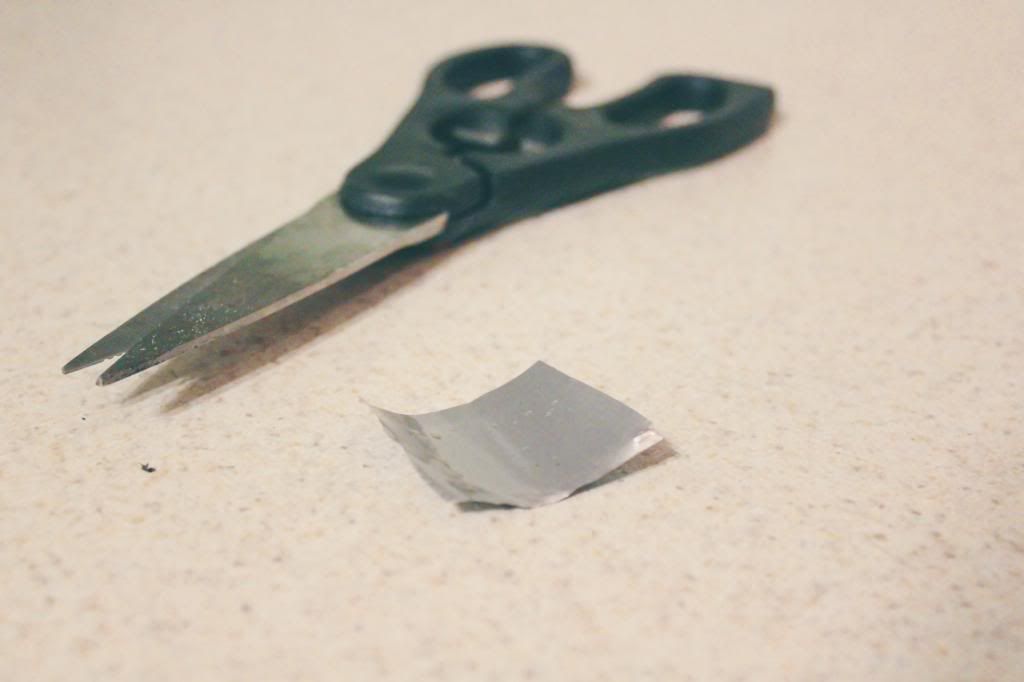
STEP THREE: CUT A SMALL SQUARE OUT OF ALUMINUM
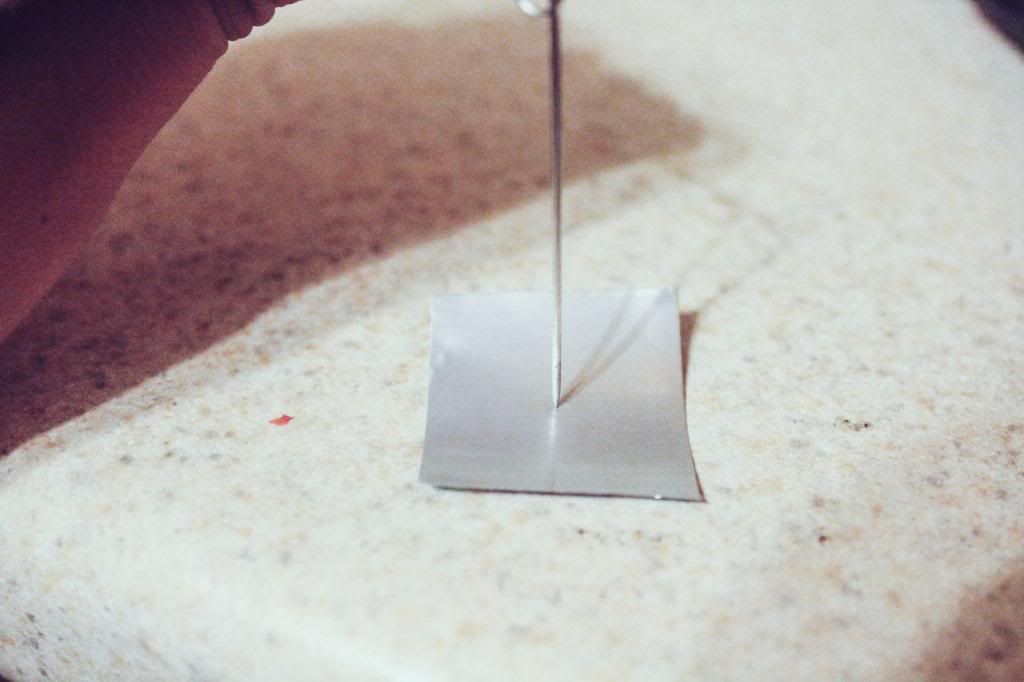
STEP FOUR: CREATE YOUR PINHOLE
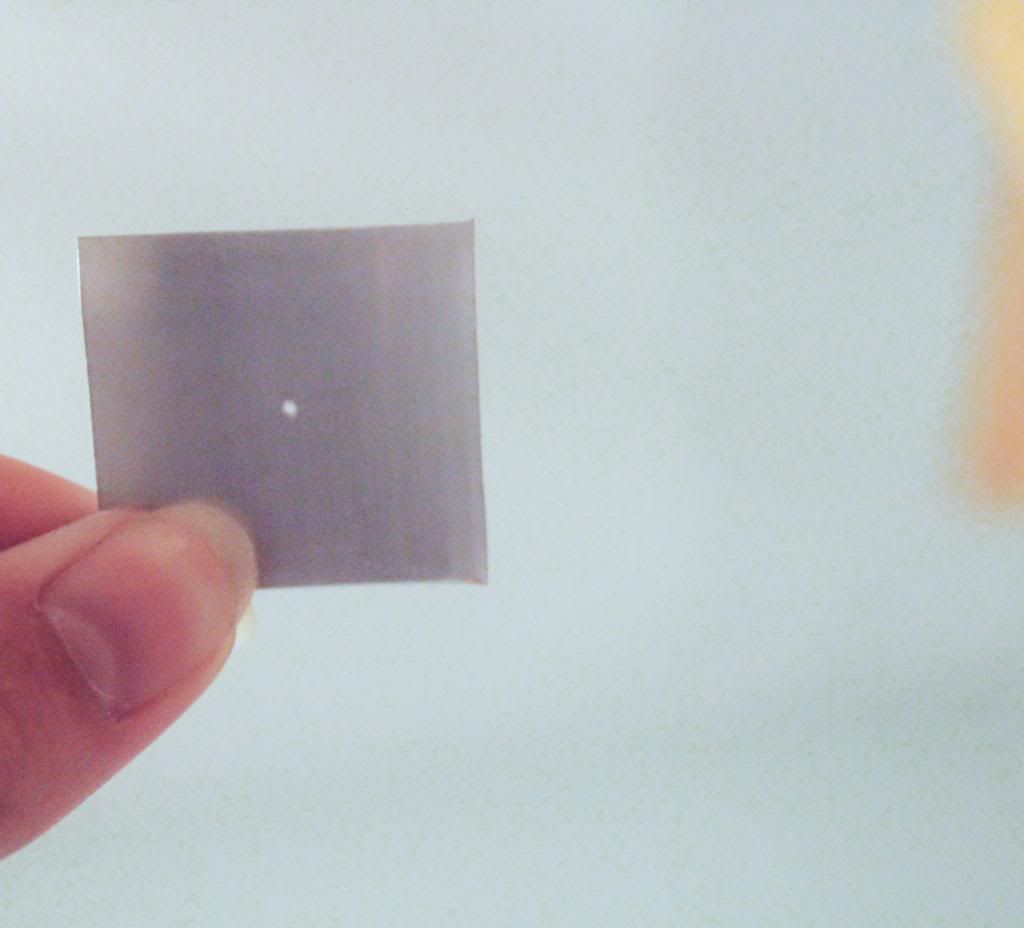
Using a small safety pin, puncture a tiny hole carefully into the middle of your aluminum. A good trick to get a nice circle, push down while slightly twisting at the same time. Hold it up to the light to ensure the circle is perfect. If you do not have a nice circle, you must start over with a new piece of aluminum as it will cause issues in your photographs.
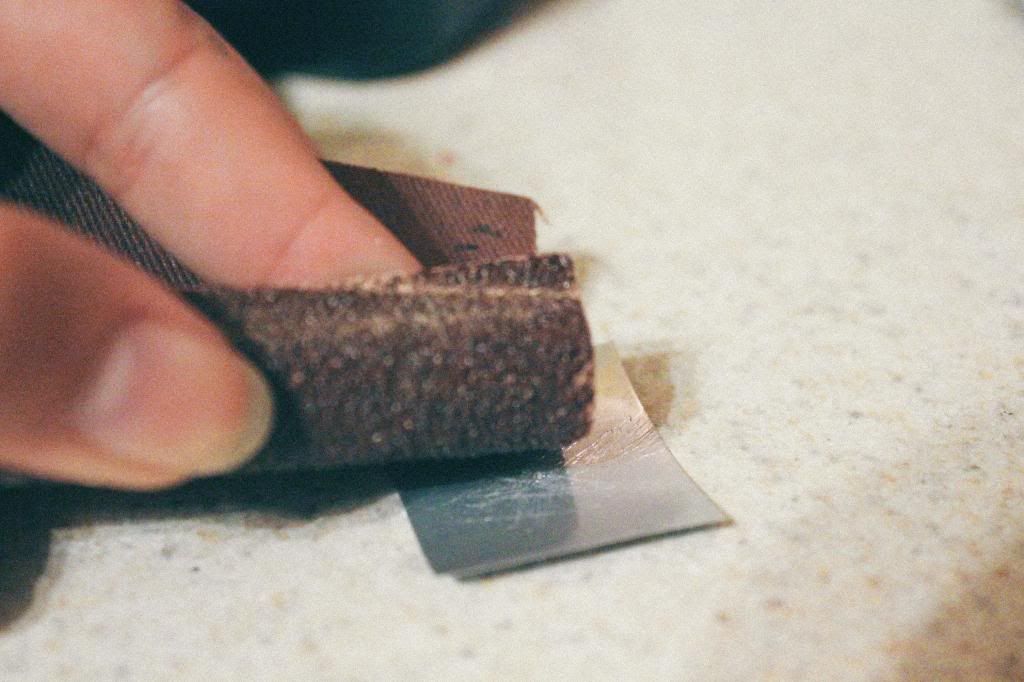
STEP FIVE: SAND DOWN ANY ROUGH EDGES
Your aluminum needs to be smooth on both sides of the pinhole, if there are any rough edges, go ahead and slightly sand them down so it creates a smooth surface.
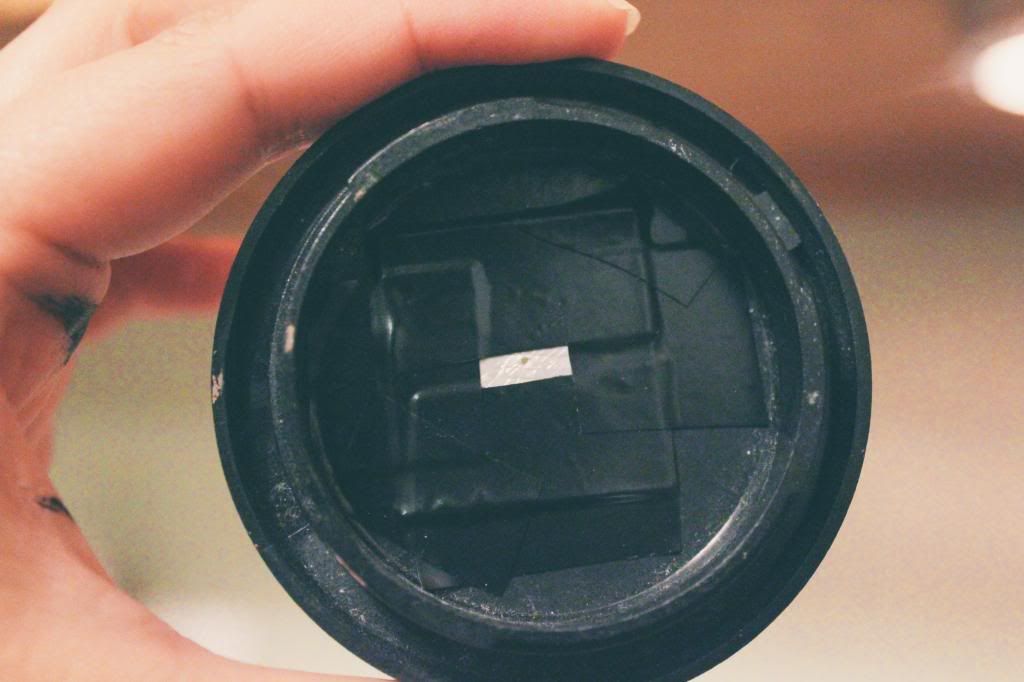
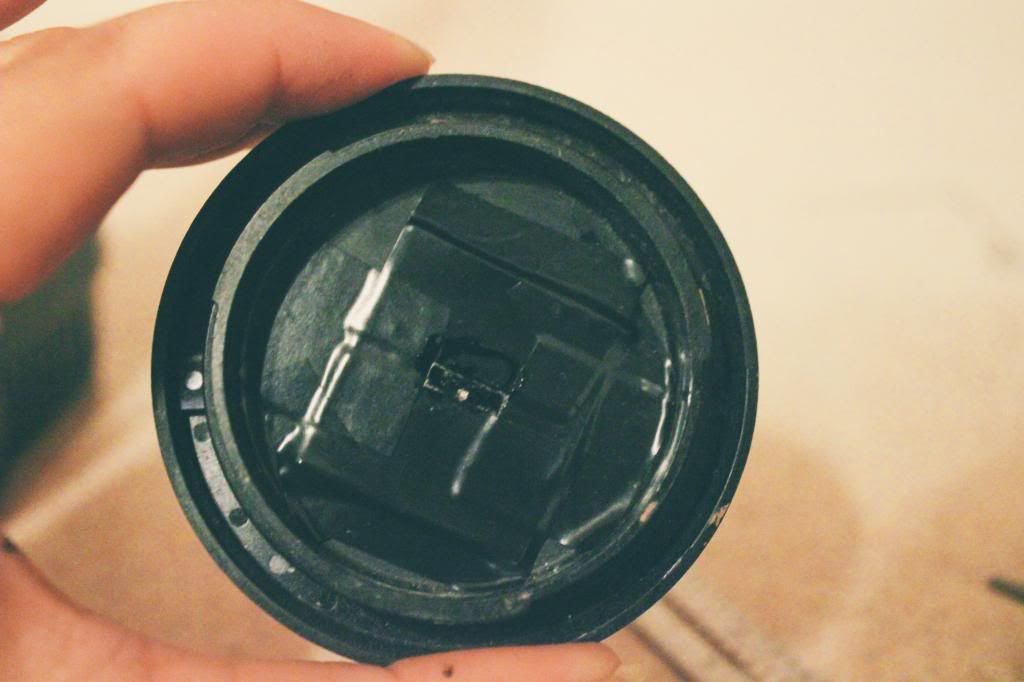
Line up your aluminum pinhole with the hole in the body cap, and tape into place using your black electrical tape. Make sure the pinhole is in the center of the hole in your body cap. It should look like this:
STEP SEVEN: COLOR IN ANY SILVER FROM THE ALUMINUM
Using your black marker, cover up the rest of the aluminum just to ensure that everything is dark, that way it wont mess with the photograph.
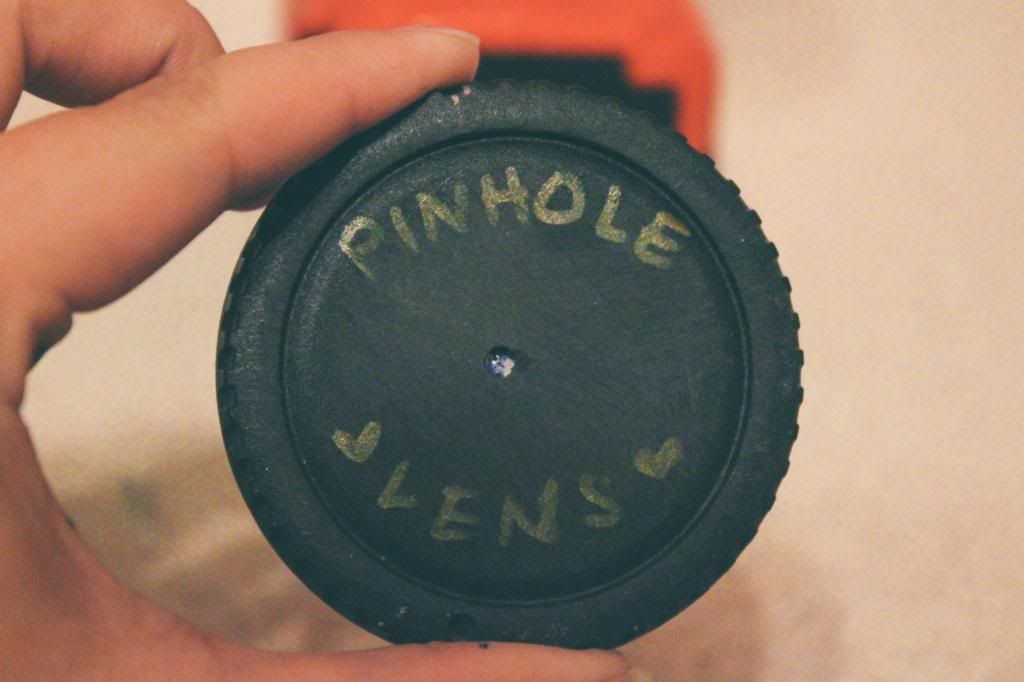
STEP 8: DECORATE
See how that rhymed? lol
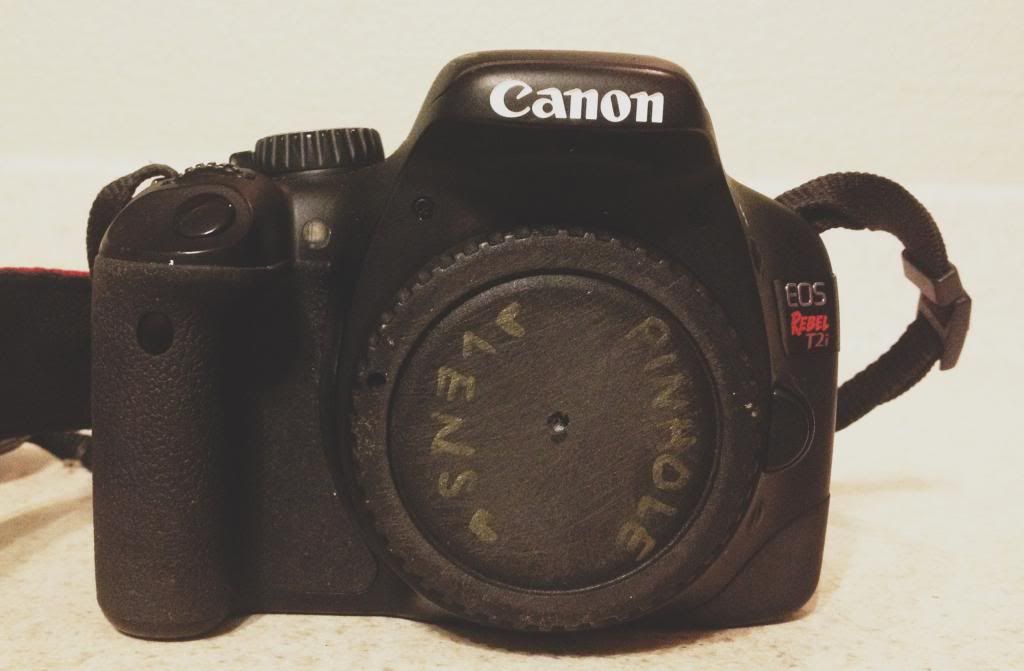
This step is totally optional, but I just wrote on the front of mine so I knew it was the pinhole lens. It also made it a little prettier :)
ALL DONE!
Go ahead and attach your new pinhole lens to your camera!
TIPS TO SHOOTING PINHOLE PHOTOGRAPHY
- Shoot using an ISO of 100
- You will need to use a very slow shutter speed, I use 0.3 or 0.5
- If your image is way to blurry, your pinhole is probably too big. Detach the aluminum pinhole, and use a smaller pin to create a new hole. The smaller the hole, the less blur you will have in your photographs.
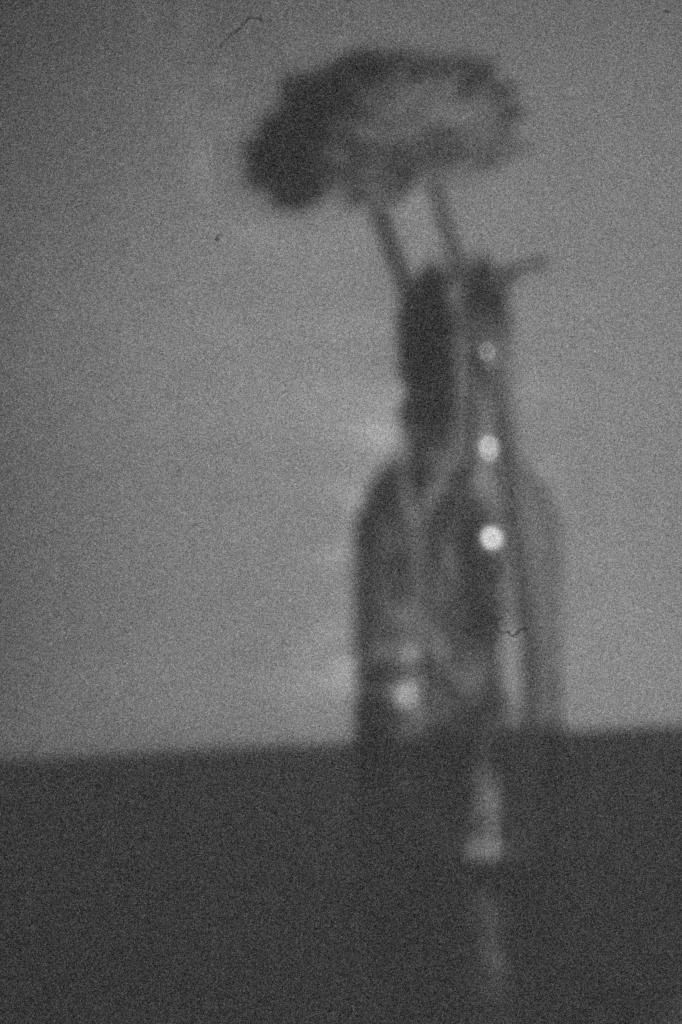
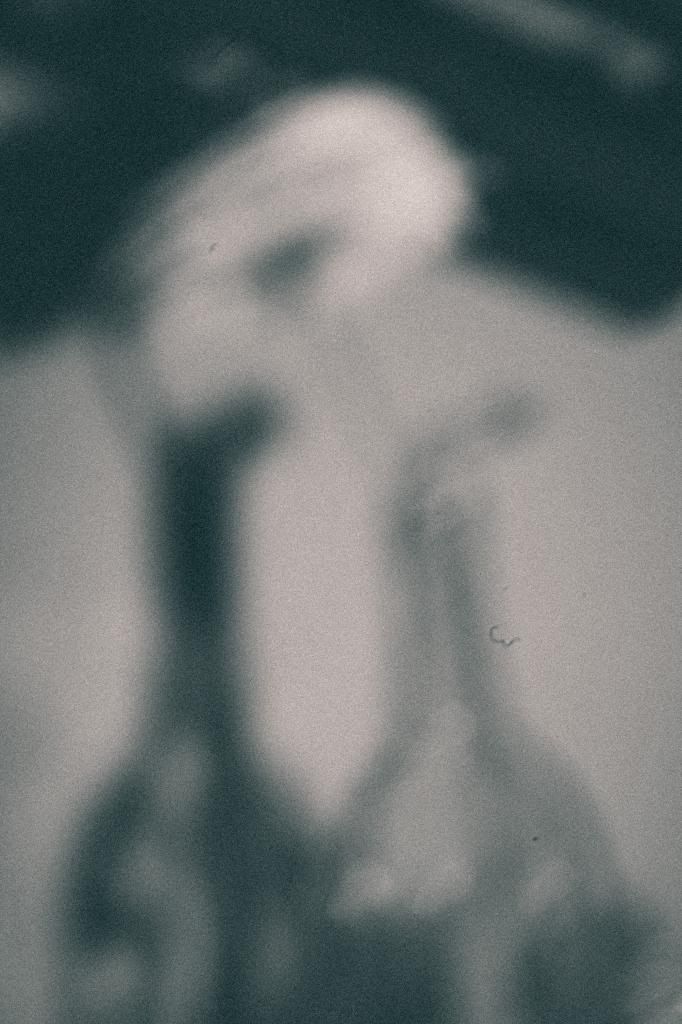
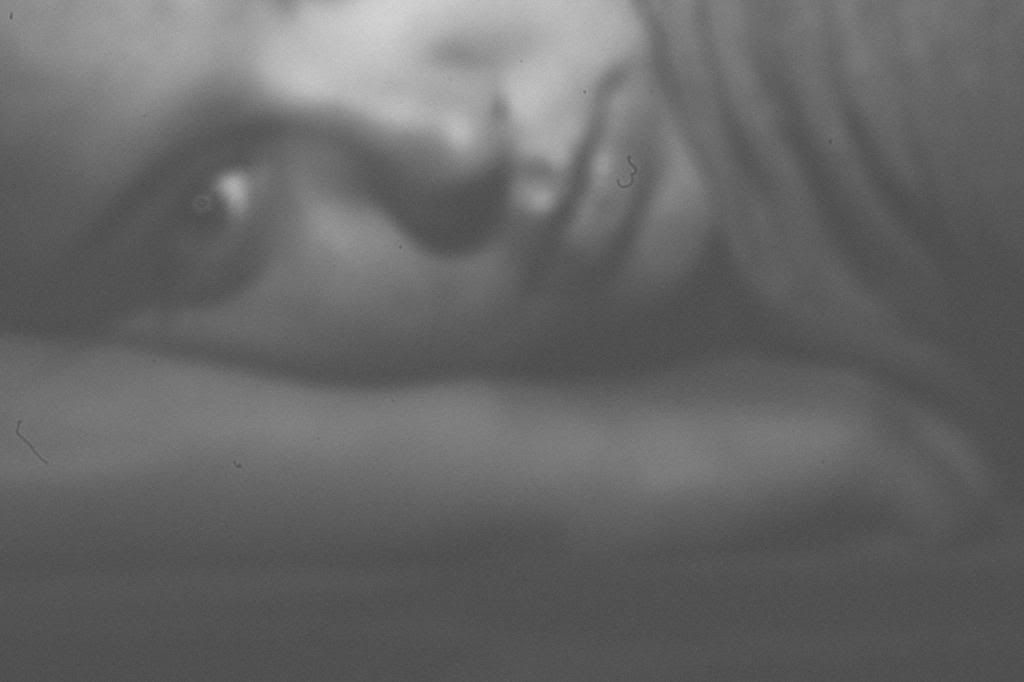
Here are some shots I did...I like my pictures to have a blurry, mysterious effect so I made sure my pinhole was the correct size to do that with. I also love black and white pinhole photography, so I set my photo settings to monochrome on my DSLR so that the pictures came out in black and white.
All in all, pinhole photography is pretty fun to play around with. I like the dreamy, blurred effect it gives my photographs. Its definitely a technique i will have fun playing around with!
Id love to see your pinhole shots, post a link in the comments so I can check them out!
xoxo
K



No comments:
Post a Comment