Thursday, July 11, 2013

Inspiring Spaces

Lately I have been having fun scanning Pinterest for ideas on fresh, and modern ways to update my home decor. I love ideas that I can DIY and make my own. Here are a few spaces that have really been inspiring me lately!

*Click page to visit source


I love the simplicity of these hanging flowers. It brings a clean, and fresh elegance to any living space. Click on the image to learn how to create these beautiful pieces in your own home. 

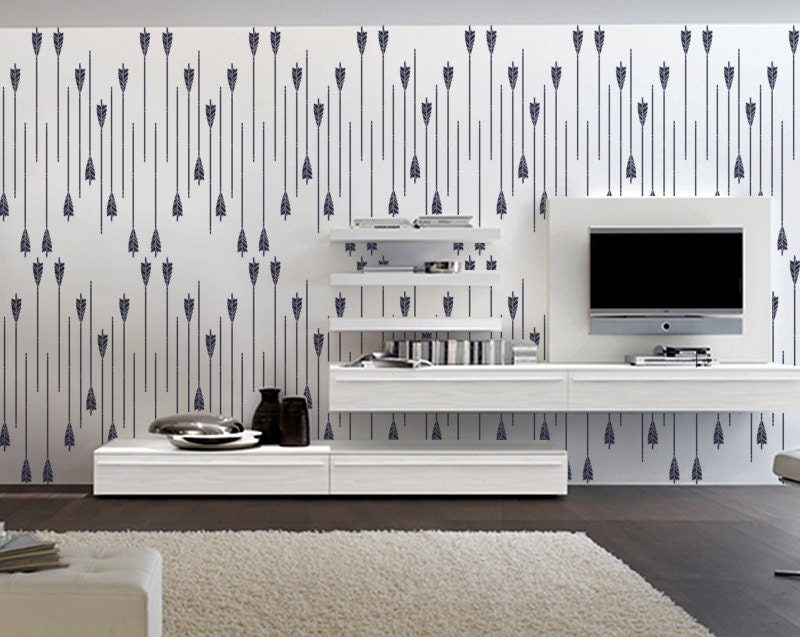
I am really excited to create a patterned accent wall in my bedroom. This amazing photo from Etsy has inspired me to take the plunge. Visit this Etsy shop for more amazing stencils.
Source: Etsy

This is an image I pinned from Tumblr. Not sure of the source, however, I love the handmade feel to the art posted on the wall.

I LOVE pops of bright colors, it brings a certain happiness to any environment. These pieces are amazing, and could be an awesome DIY project. 


This is everything I love wrapped into one picture. Black and white bold prints, pops of color, contrasting patterns, and the blanket featuring my new obsession: Otomi Prints. 
Source: Things Bright


Whats inspiring you lately??

xoxo
K

DIY Black and White Toddler Airplane Room

So J was with his dad all week on vacation, so mommy decided to be productive and finally tackle a project I have been planning for a while...J's room.

Unfortunately, Jonah's room was just that, a room. Not a place where he could play, and have fun, but just a room where he would sleep. I really wanted to change that, because everyones room should be their space that they enjoy spending time in.

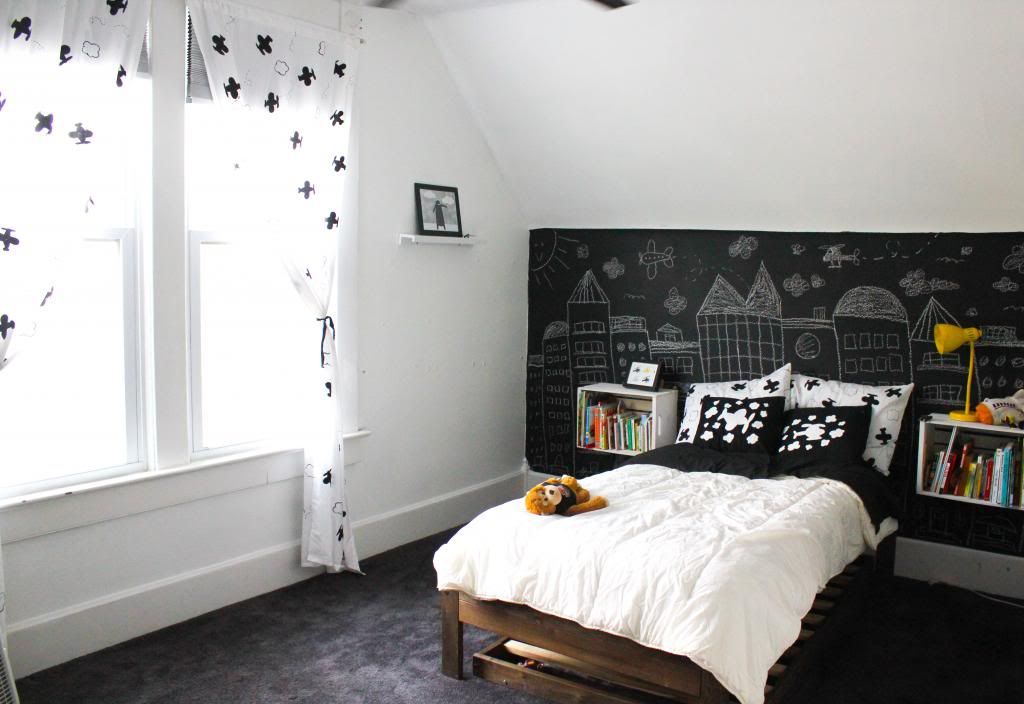
Thanks to Pinterest I found all sorts of amazing inspiration, and decided on a black and white airplane theme. I chose this because upstairs we have black carpet (dont ask me why the previous owners chose BLACK carpet), and Jonah is huge into airplanes right now. I didn't have a lot of money to spend, so I decided this was going to be a complete DIY project.

After a week of hard work, its finally finished, and J LOVES it! It turned out amazing, and was worth all the hours I put into it.

Hope you like it too!

xoxo
K


This is the before shot...YUCK


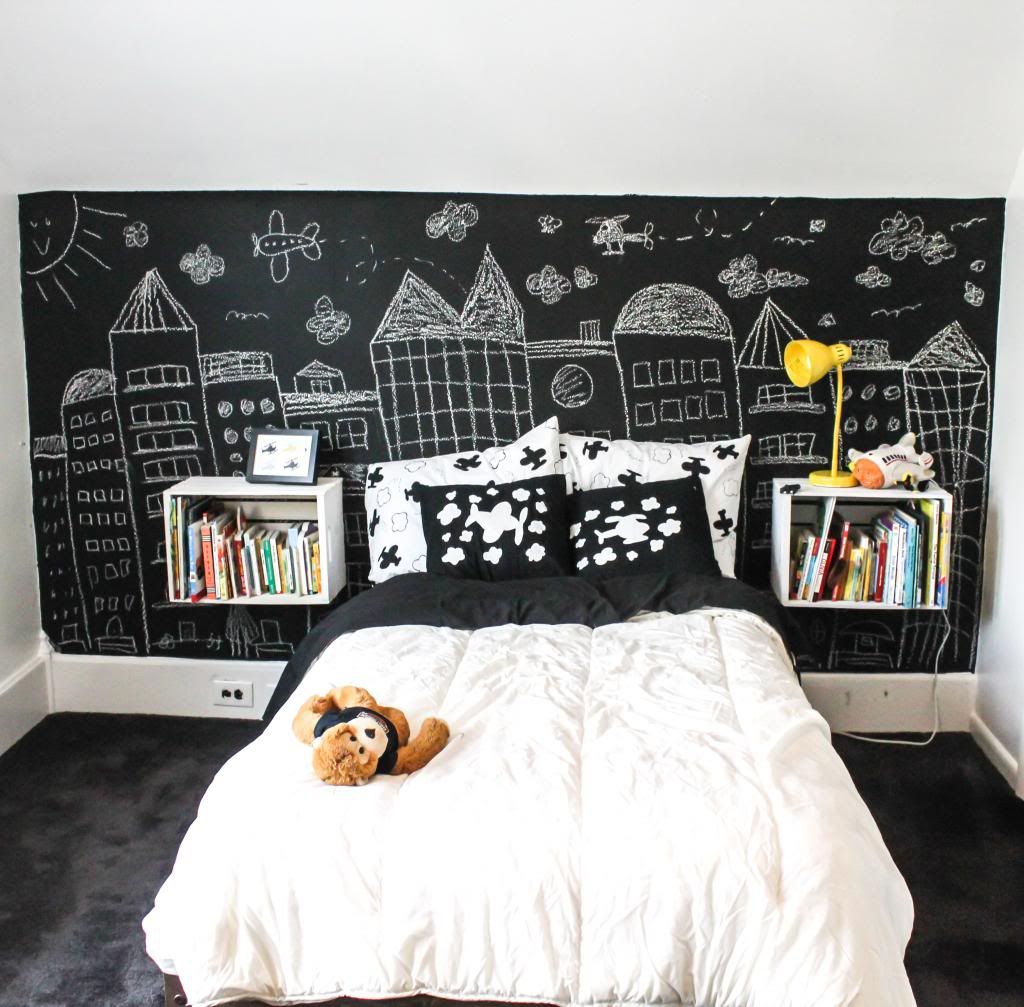
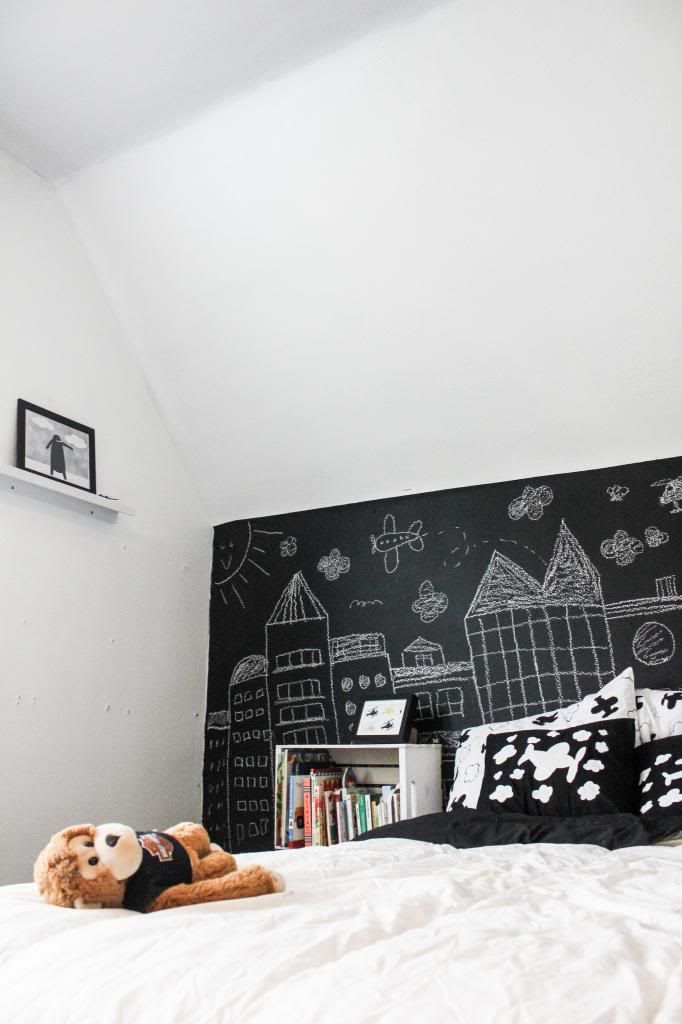
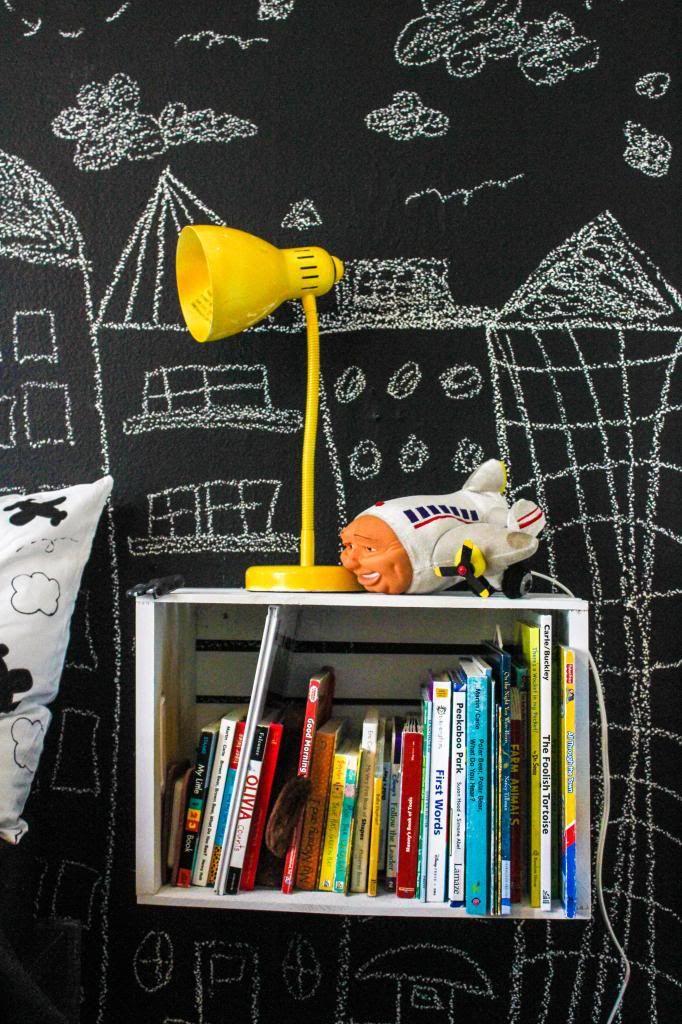
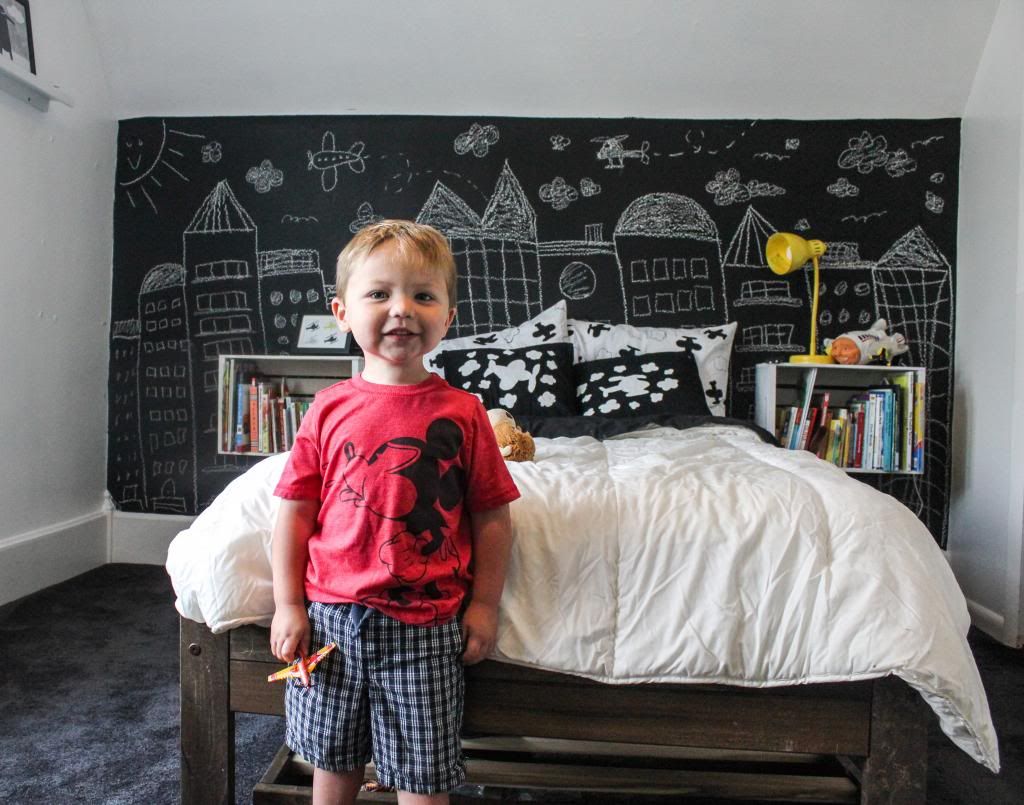
The back wall was painted with Disney brand black chalkboard paint, purchased at Walmart for 10 bucks. It went on super nice, and I only needed to apply two coats.

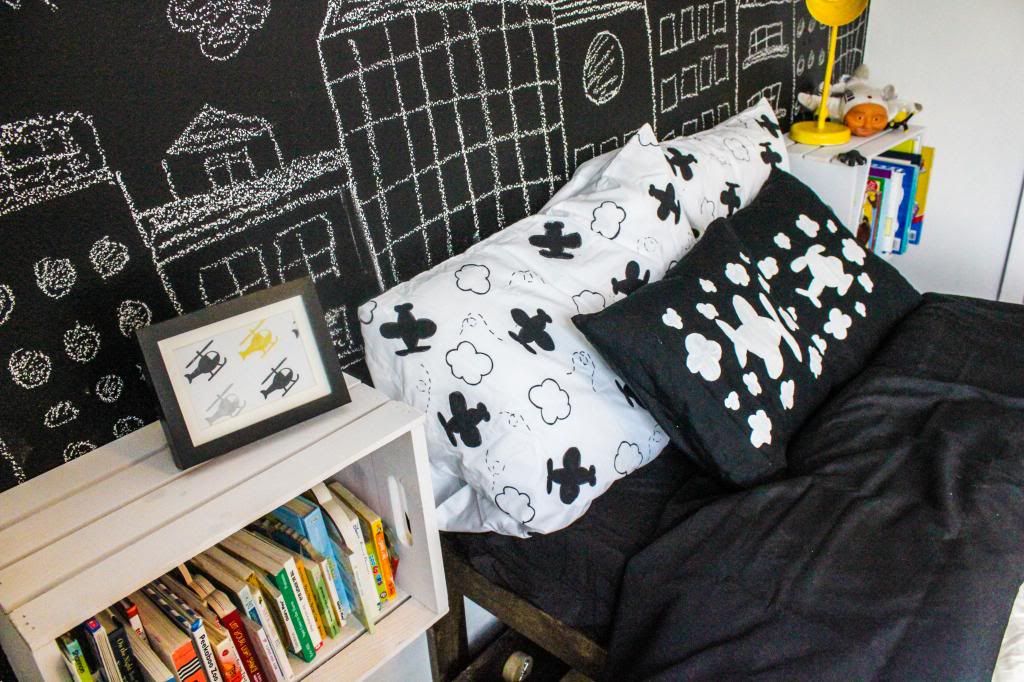
The pillows were handmade by me....I stenciled in the patterns, and sewed the black pillow cases to fit the smaller 16x16 pillows.


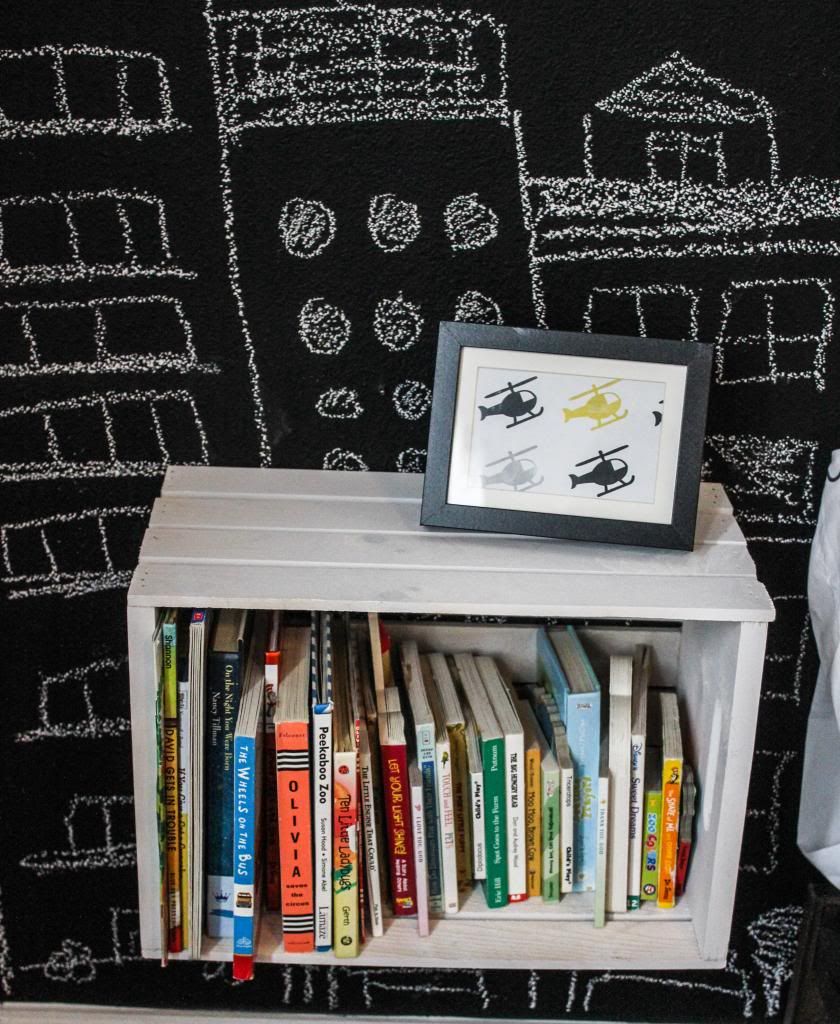
The bookshelves were just crates I bought at michaels for $14, spray painted white, and screwed into the wall. They are perfect nightstands that also hold all of his favorite books.


The helicopter print was made by me on Adobe Illustrator, and then just placed in a frame. You could do this by cutting out images from the web or a magazine if you dont have access or know how to use Adobe Illustrator.


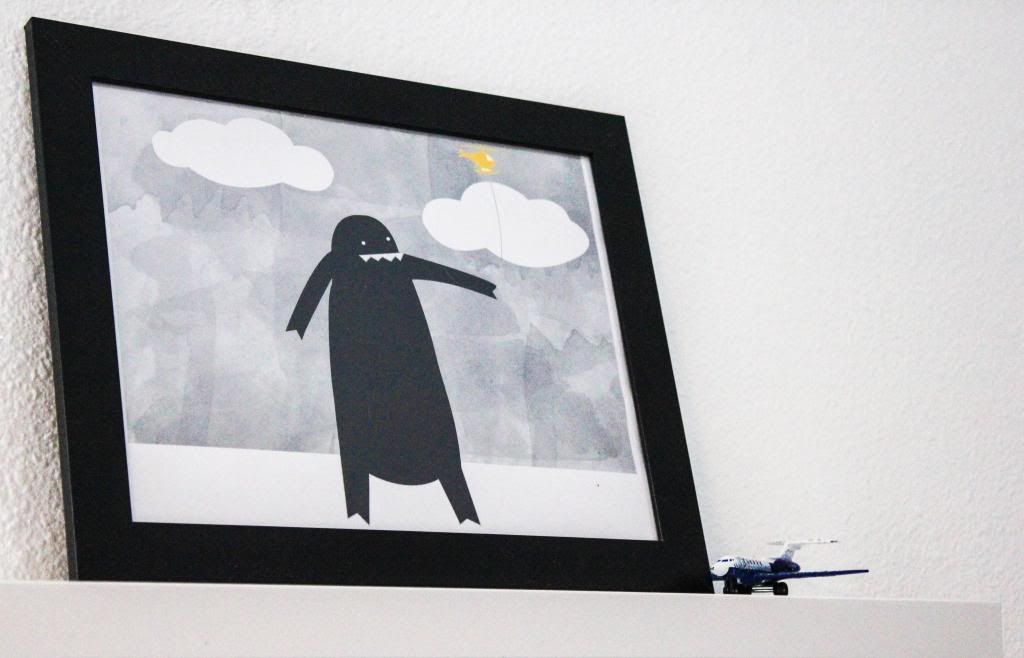
The monster print was also made by me on AI


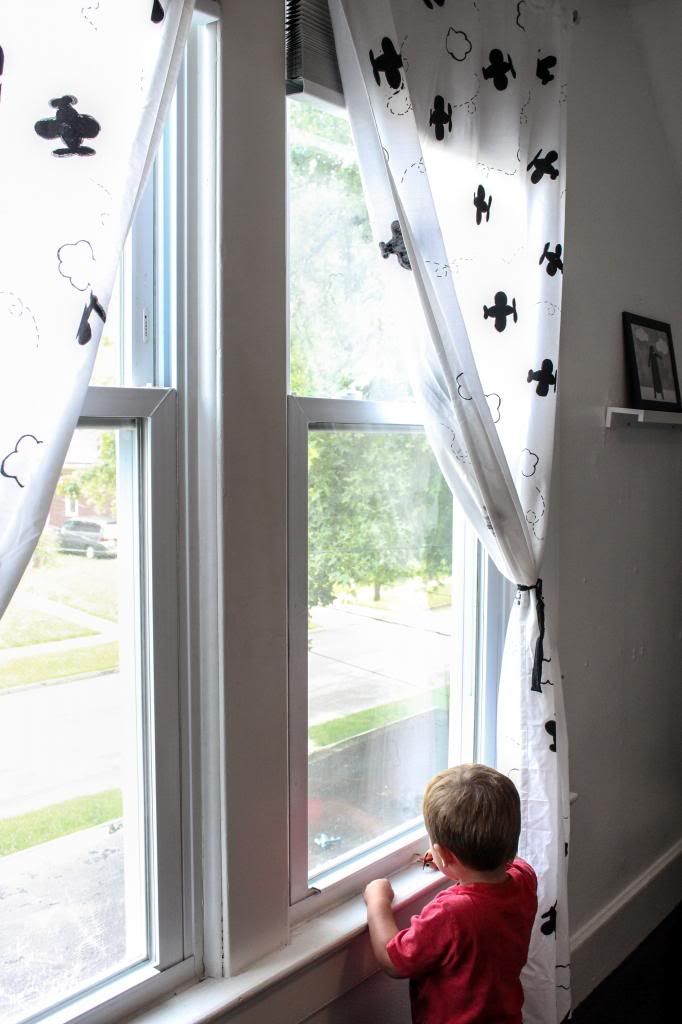
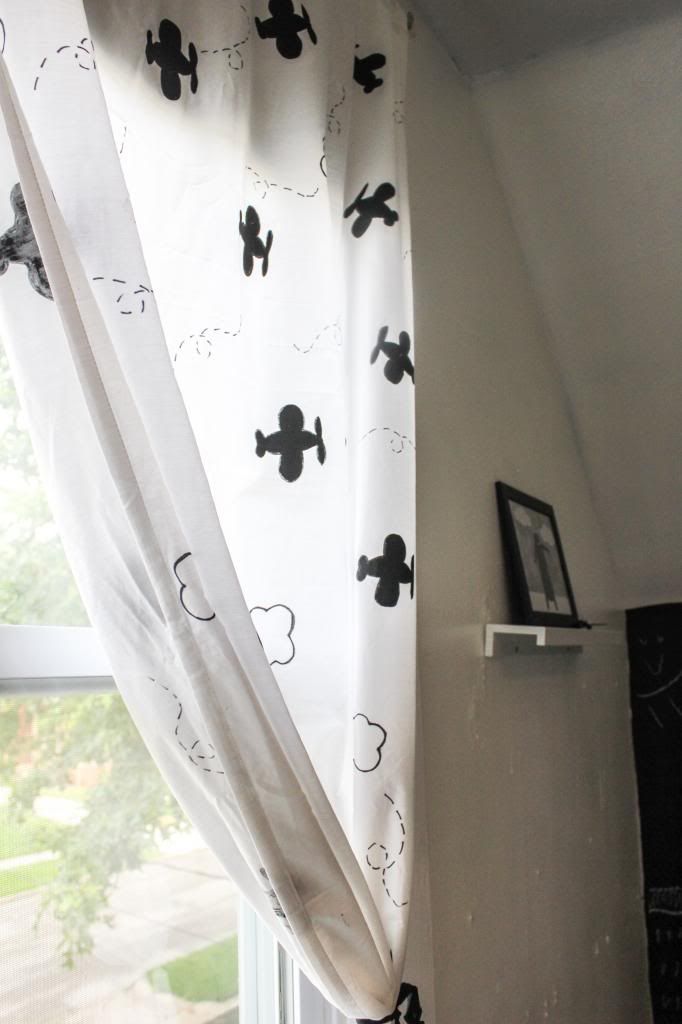
The curtains started off as just one big white, full size flat sheet purchased at walmart for 6$. I then stenciled in the planes and clouds using acrylic paint. Once finished  I cut down the middle and sewed a hem. I sewed the top of the sheet over to create a tube for the curtain rod to go in.


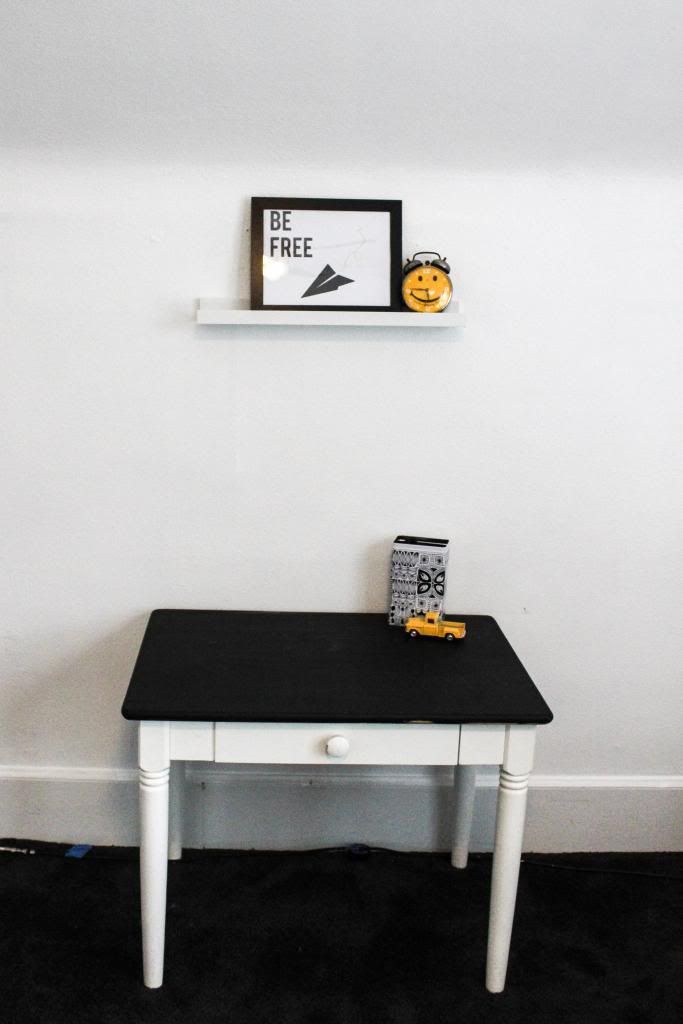
The desk was a $5 garage sale find purchased last summer, and the top was painted with the same chalkboard paint that I used for his wall.


He is a happy boy! I love hearing him tell people, "I got a cool new airplane room!" All the hard work paid off, and it was awesome to know I did it all by myself!


Thursday, May 16, 2013

Pet Photography Tips


I have grown up in a house filled with animals. Not in a hoarders kind of way, in a way where I always had pets to care for and love. I am so thankful for that upbringing, and I want my son to have the same opportunity to care for animals, as I believe it helps us to become more compassionate human beings.

Needless to say, whenever I am running low on inspiration or things to shoot, I always use my pets as a go to. They are so fun to shoot, and I can always get something creative out of them.

Shooting pets can be frustrating at times, because unlike humans, they are unable to understand us when we say "sit there", "smile", etc. Patience is a key virtue when it comes to shooting animals, however, the end result is most definitely worth it.

Here are a few ways to get creative with pet and animal photography.


Get Creative
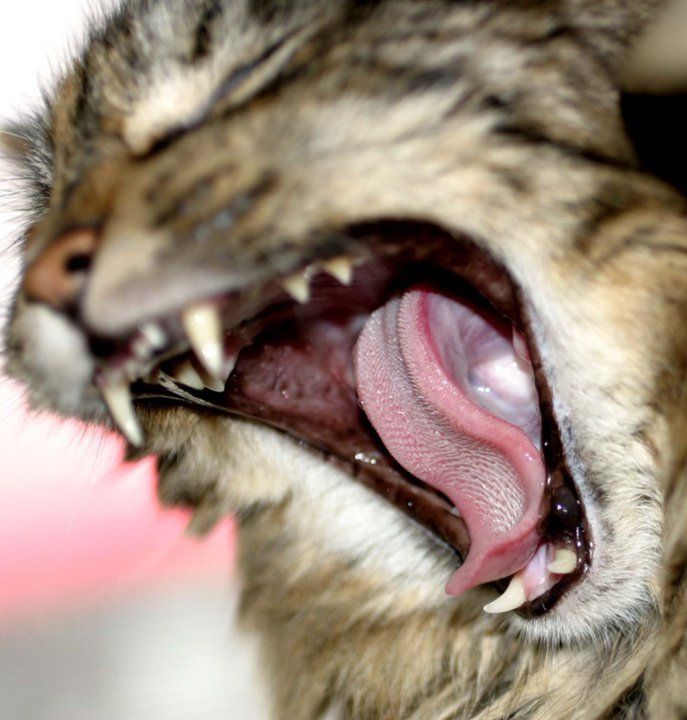
Hannah the Mancoon cat, yawning.
Catch your pet doing something ordinary, and turn it into an extraordinary photograph. With this shot, I put my camera on the continuous shoot setting, and clicked away as my cat perched on the couch. I happened to catch this shot of her yawning, but it took my breath away because she truly looks like a wild cat about to devour her prey. So when your pet is being boring, just be patient, because I guarantee you'll catch them doing something amazing / cute / funny, etc.


Use Props
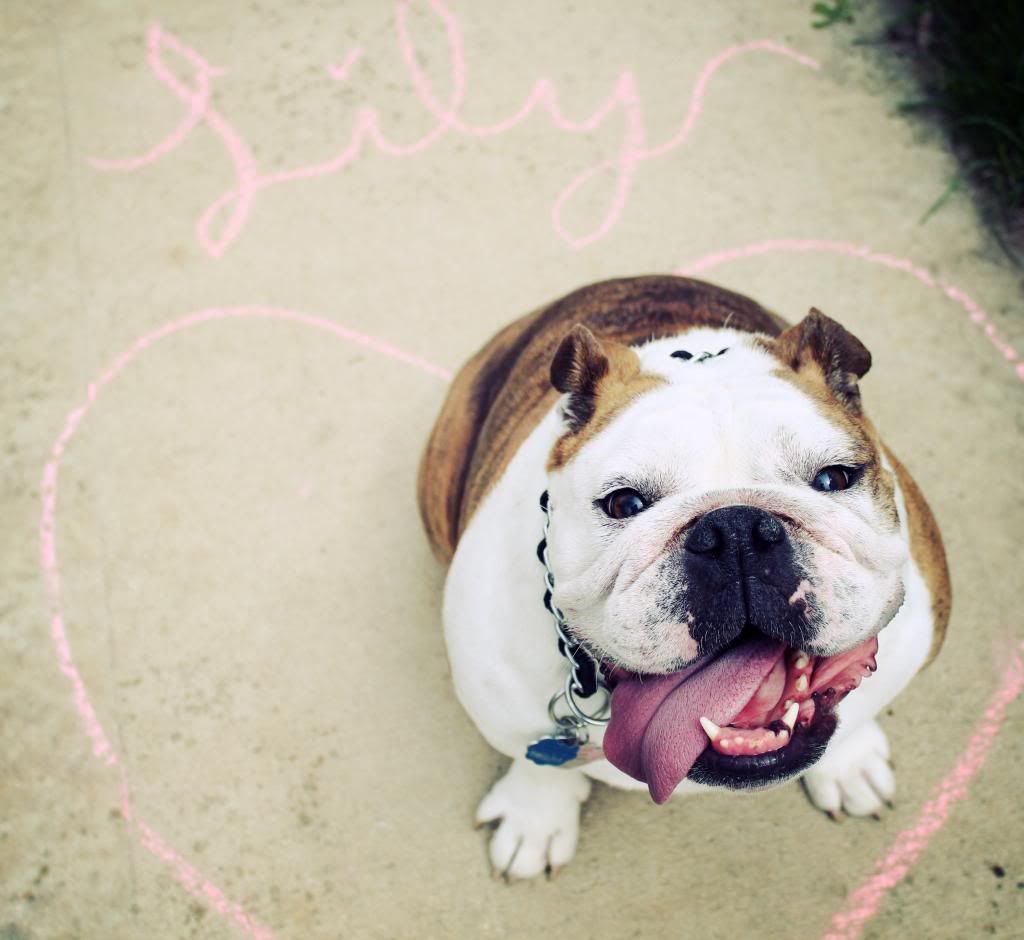
Sweet Lily
I feel like I have taken so many photos of my mothers english bulldog lily, but none that truly capture her girly, sweet side. Being a bulldog, she tends to come off looking tough, when in reality, she's a sweet, lovable girl. I decided to help portray that by using some sidewalk chalk, and drawing a heart around her. It instantly dolled up the shot, and she looks as happy and sweet as can be!

Anytime you get bored with pet photography, there are tons of things you can use around your home to lively up your shots. A bow tie, hat, sunglasses, etc are a few ideas to get your creative juices flowing.


Think Outside The Box
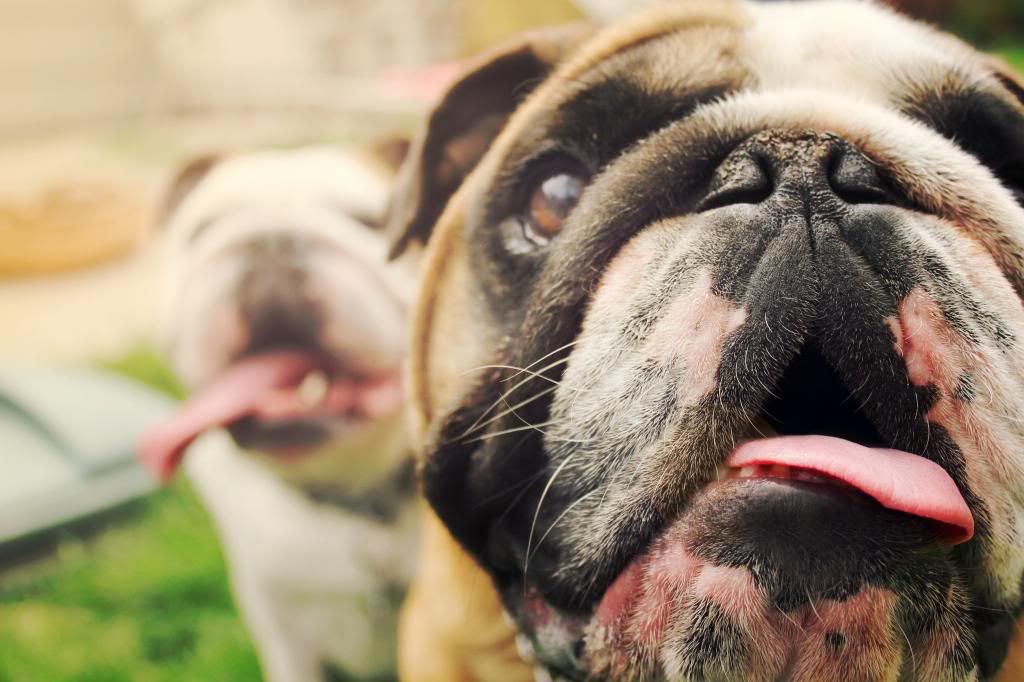
Guinness and Lily, Double Trouble.
When photographing two pets, the first idea that comes to mind is obviously a clear shot of both animals. Why not switch it up, using your aperture skills to blur out one pet and focus the other. You can do this with both animals so your not missing out on a clear image of both pets. I did this with my moms bulldogs, and it came out pretty cool. They look like partners in crime for sure.


Catch Them In Their Natural State
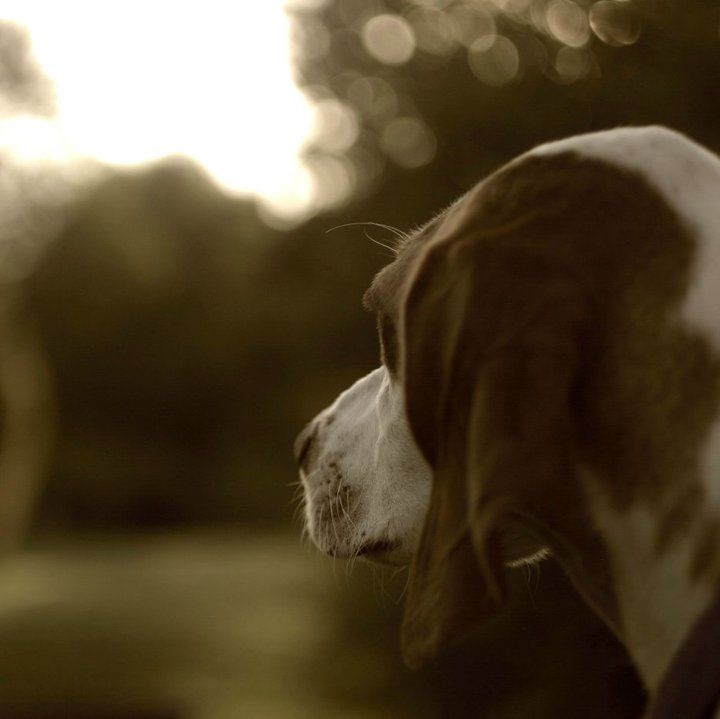
Nelly gazing at her prey (some birds in the distance).
Sometimes the best way to capture a pets personality, is to shoot them doing what they do best, being themselves. Simple as that. I shot this of my friends dog, she is a hunting dog, and was doing some bird watching. I caught this photo from behind, and it turned out really beautiful. 


Get Down On Their Level
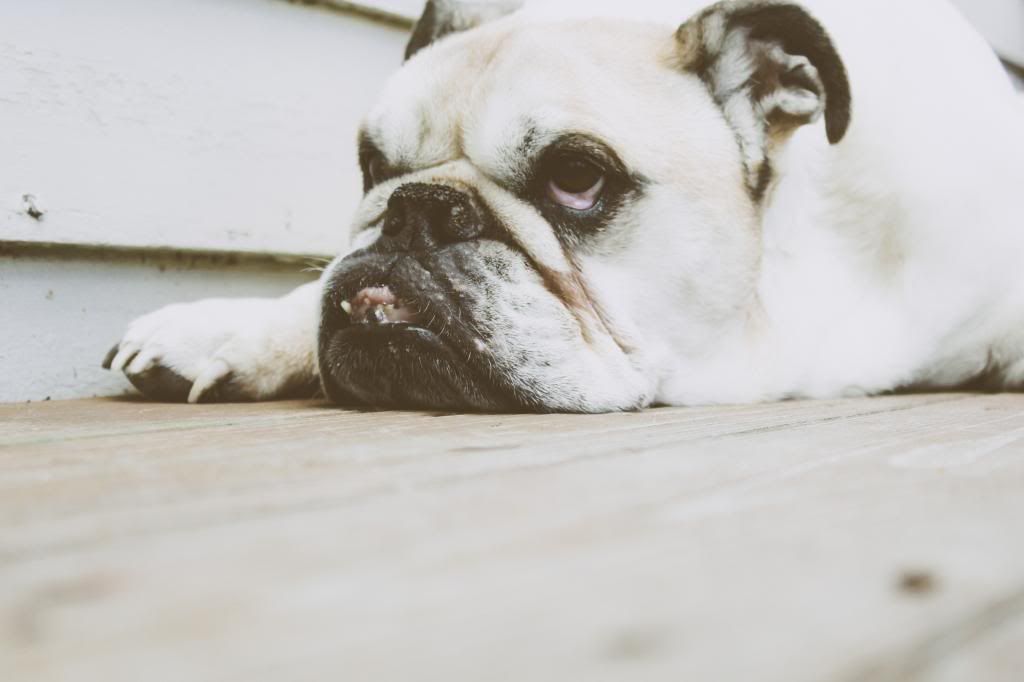

Lola on a lazy day
A creative way to get a good pet shot, is to get down on their level. Shooting them from below, or right at eye level will get you some awesome shots that are unlike the rest. It sometimes requires getting a little dirty, but trust me, its worth it!


Get Up Close
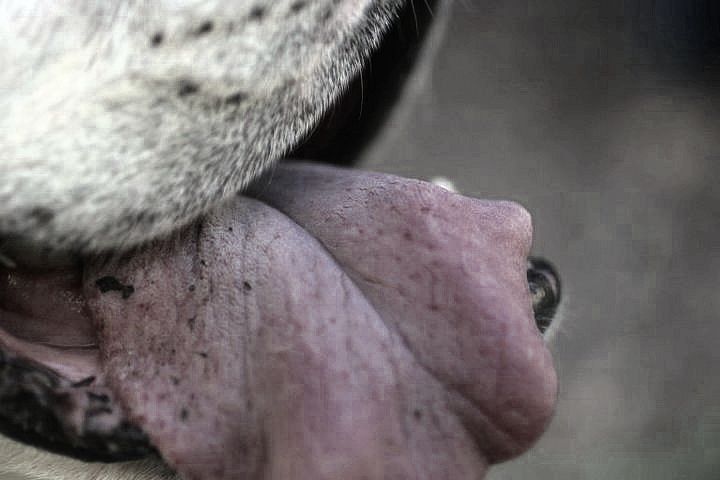
Lola's big ol' tongue
Sometimes, getting up close, and focusing on the most distinctive part of your pet can lead to some amazing photographs. For this shot, I decided to focus on Lola's tongue, as its always hanging out the side of her mouth. The shot came out very unique, and different than any of my other pet photographs. 
So next time you get stuck on what to shoot, try zooming in and getting a really unique shot up close!


Explore Local Wildlife
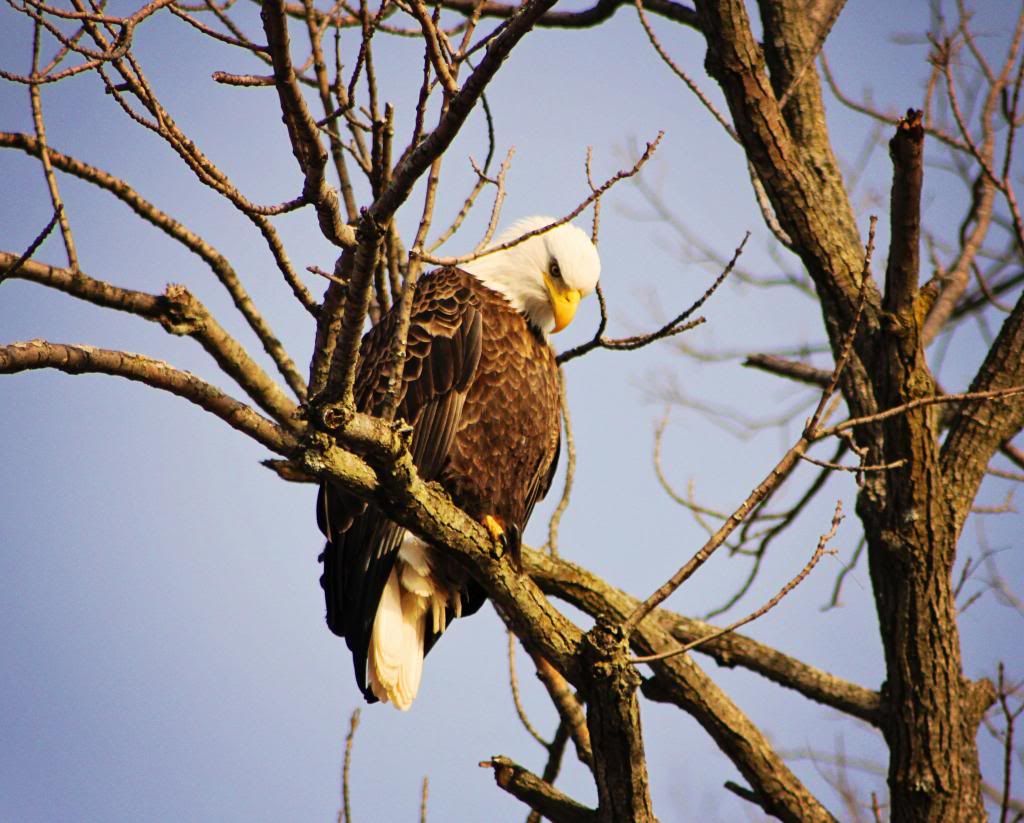
Bald Eagle taken along the Mississippi River in Missouri.
Take a weekend trip, and explore some of your local surroundings. Try hitting up a state park, or even a zoo. State parks or wildlife preservations can attract some amazing local wildlife. From birds to deer, and sometimes even the occasional coyote, they are all there for you to shoot. Even if you live in an urban area, try visiting your local zoo. You are always guaranteed to find an amazing animal to photograph there.

Get In The Picture
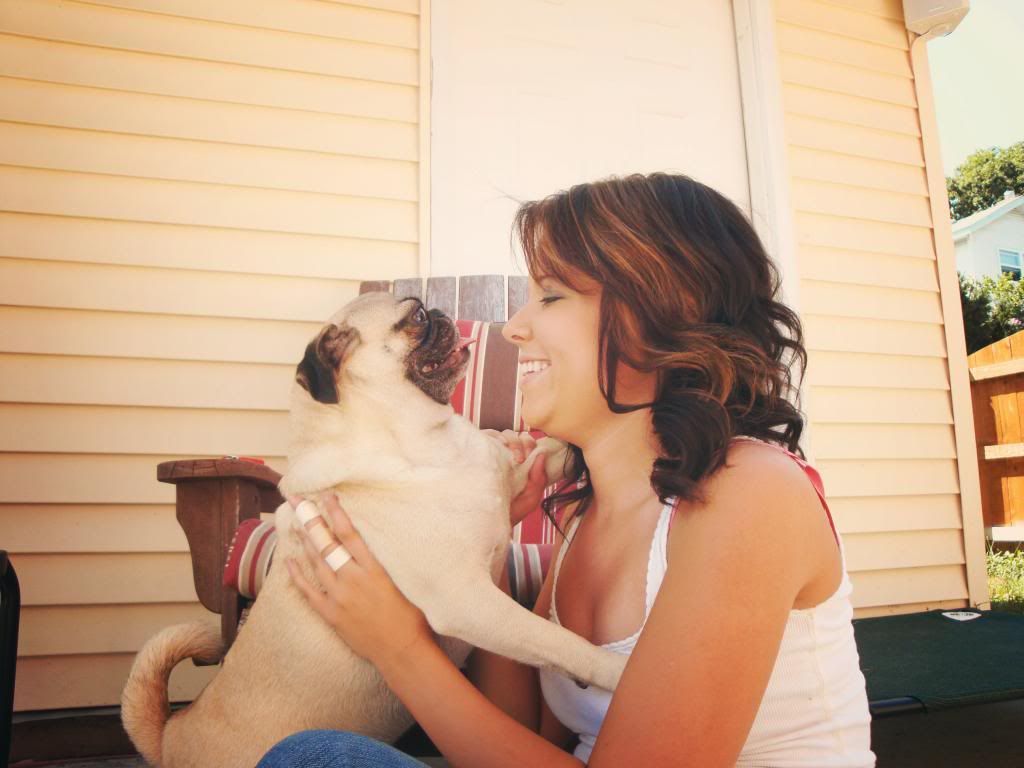
Me and my pug Charlie, he's my best bud.
This is always a great way to get some great pictures of you are and your pet that will last forever. Its as easy as setting up a tripod, and using a shutter remote release to snap away at you and your pet playing. I love pictures of people with their pets, because you can see the love between them, and the joy they bring to each other. 


I hope these few suggestions / ideas give you some inspiration for your next pet photo session. Shooting animals and pets is one of my favorite things, and I always love finding new angles, or ways to capture them on camera.

Do you have any creative ways to shoot animals / pets? Id love to hear about it, leave a comment :)

xoxo
K

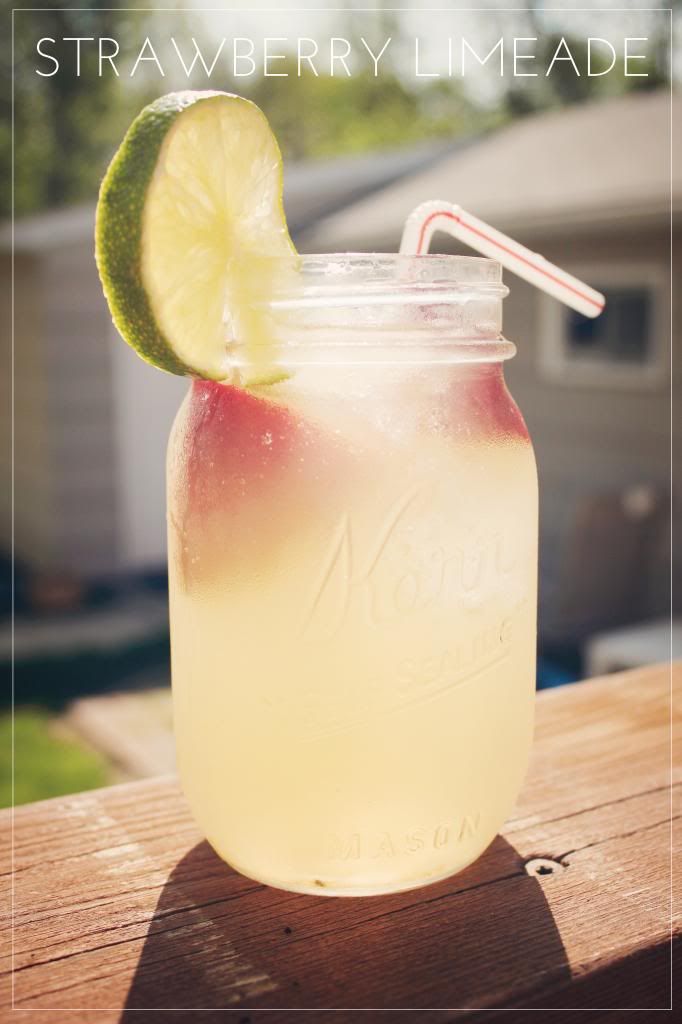
DIY: Strawberry Limeade


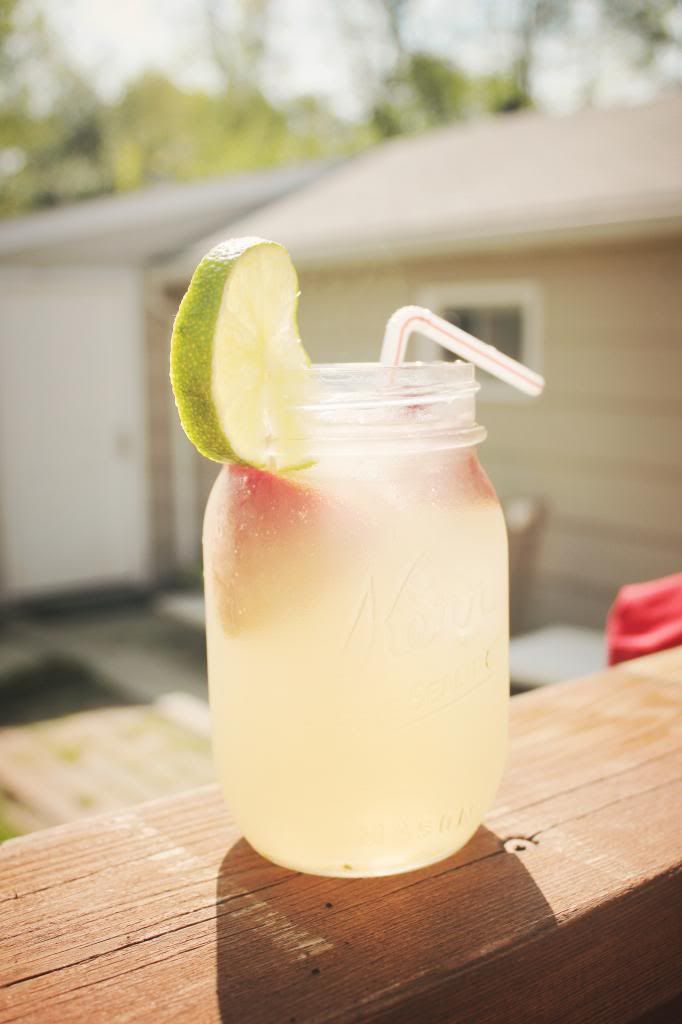
With the weather warming up, I am craving all those summery drinks, especially lemonade. However, I am sick of just plain old lemonade, and I love to try and spice things up a bit. This week, I decided to add a little extra something to my lemonade, and make it strawberry limeade. It is delicious and so easy!

Here is the recipe:

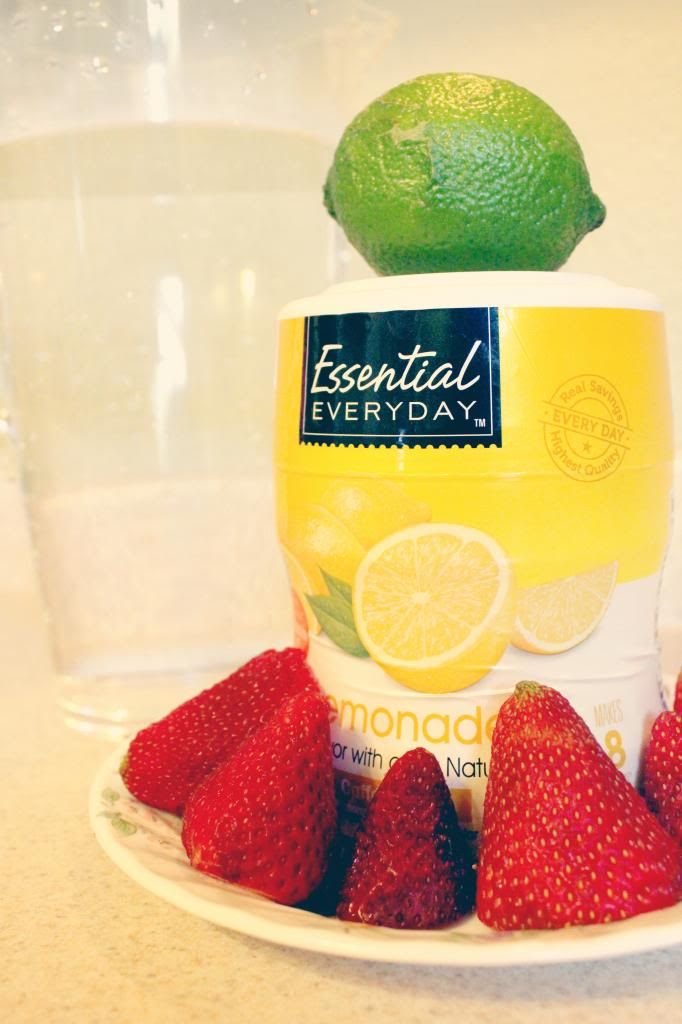
Ingredients

  • Lemonade Mix
  • Strawberries
  • 1 Lime
  • Water


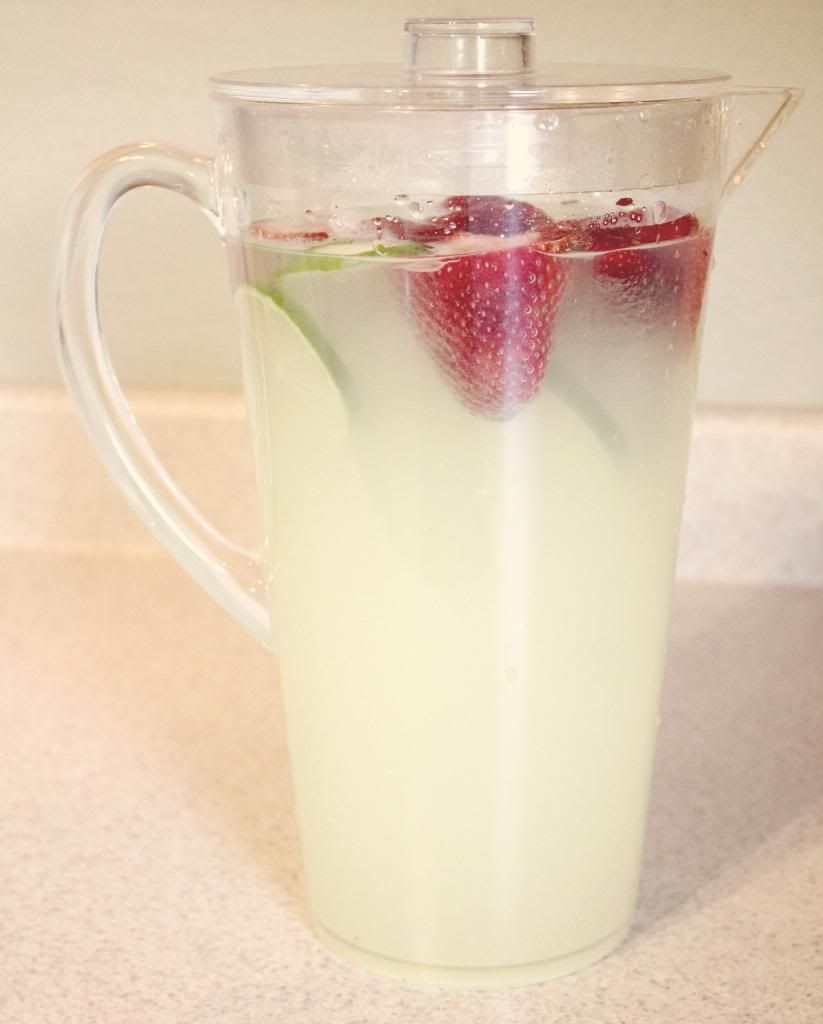
Add your lemonade mix to the water, following the instructions on the container. I am sure this would be better if you made it fresh using lemons, however, I did not have time for that so I used the pre made mix stuff.

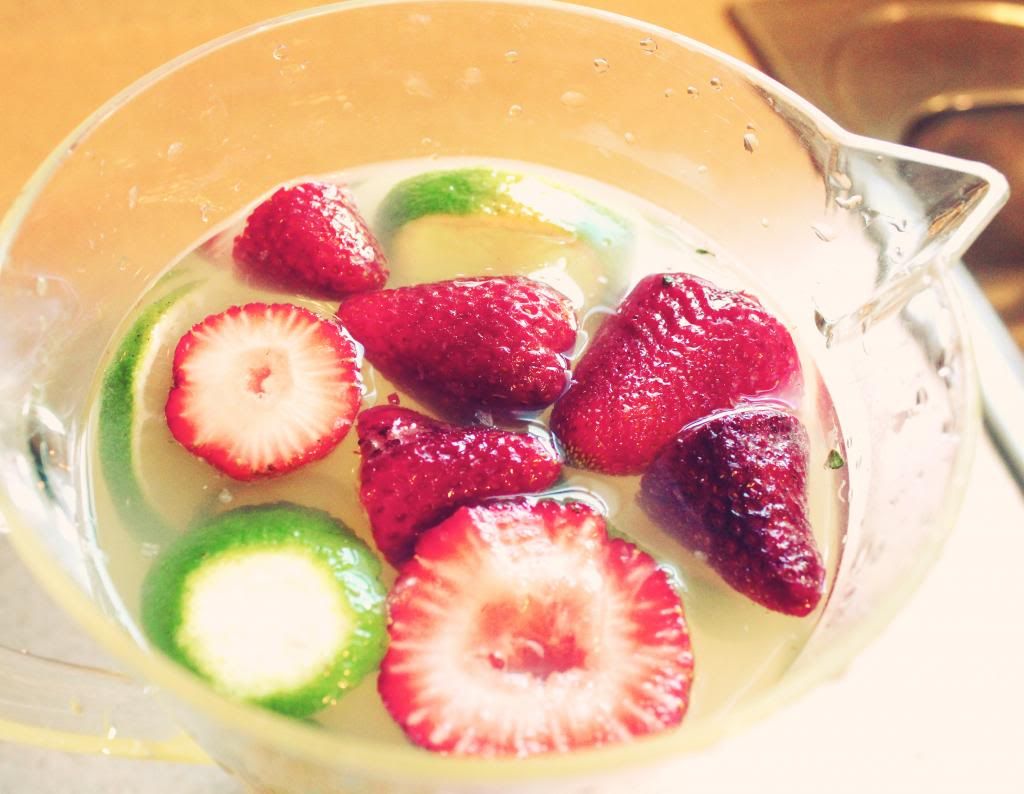
Cut your strawberries and lime up, add to the mixture.

Add ice


VOILA


I told you it was easy! Took me 5 minutes, and it was delicious. My son liked pulling the fresh fruit out of his cup and eating it. Such a perfect drink for a bright, spring day!

*Note: After a day in my fridge, the lime really seeps into the lemonade. It can become a tad tart, and if you want, you could add a little sugar to sweeten it up.

Whats your favorite spring drink?

Recent Reads


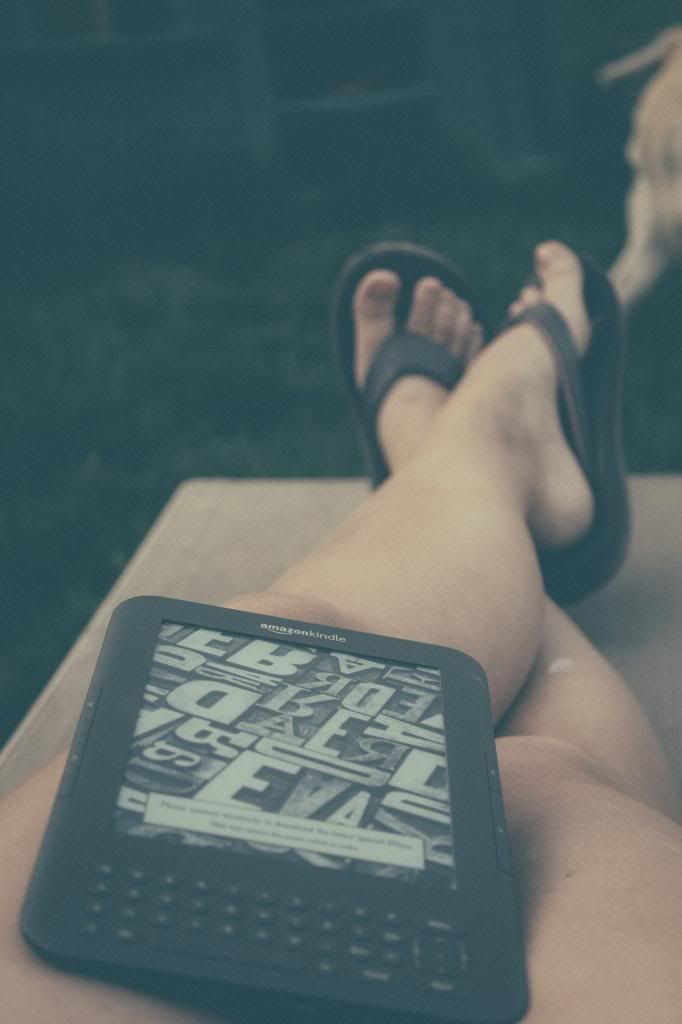
One of my most favorite things to do is read, I just love it. Anytime, anywhere, my kindle is always in my purse just in case i can steal a few moments of reading time here and there. Finding good books can be hard sometimes, and I find that i have gotten the best recomendations from friends, family and some of my favorite bloggers. I thought I would post a few of my most recent, and favorite books that I have read in hopes that maybe you will enjoy them as much as I did.


"Gone Girl: A Novel" By Gillian Flynn


I am currently reading this book, and so far, I am definitely hooked. Gillian Flynn has an amazing writing style that paints such a great picture of the story she is telling. The book is a suspense novel, which is something I am normally not into, but with all the rave reviews I thought I would give it a shot, and I am glad i did. 

   On a warm summer morning in North Carthage, Missouri, it is Nick and Amy Dunne’s fifth wedding anniversary. Presents are being wrapped and reservations are being made when Nick’s clever and beautiful wife disappears from their rented McMansion on the Mississippi River. Husband-of-the-Year Nick isn’t doing himself any favors with cringe-worthy daydreams about the slope and shape of his wife’s head, but passages from Amy's diary reveal the alpha-girl perfectionist could have put anyone dangerously on edge. Under mounting pressure from the police and the media—as well as Amy’s fiercely doting parents—the town golden boy parades an endless series of lies, deceits, and inappropriate behavior. Nick is oddly evasive, and he’s definitely bitter—but is he really a killer? 


"Brain on Fire: My Month of Madness" By Susannah Cahalan


This book left me speechless. Frightening, yet eye opening, Susannah Cahalan tells her story about her month of literal madness. This book was an awesome read, and also sheds some light on how many illnesses are out there that go undiagnosed on a daily basis. I would absolutely suggest this book, it had me at the edge of my seat the whole time.

One day in 2009, twenty-four-year-old Susannah Cahalan woke up alone in a strange hospital room, strapped to her bed, under guard, and unable to move or speak. A wristband marked her as a “flight risk,” and her medical records—chronicling a month-long hospital stay of which she had no memory at all—showed hallucinations, violence, and dangerous instability. Only weeks earlier, Susannah had been on the threshold of a new, adult life: a healthy, ambitious college grad a few months into her first serious relationship and a promising career as a cub reporter at a major New York newspaper. Who was the stranger who had taken over her body? What was happening to her mind?


"Drinking and Tweeting: And Other Brandi Blunders"

By: Brandi Glanville

I will admit it, i am a Real Housewives addict. Every time a new episode airs, I find myself counting the days until the next one. Its sad, but hey, everyone has their vices.
Brandi Glanville is my favorite housewife, with her witty humor, and tell it like it is personality, I cant help but find myself wishing she was one of my best friends. 

This book is typical Brandi style, and had me laughing hysterically from page one. Not only is it an entertaining read, its really a story of triumph and finding herself after enduring such a public, and devastating divorce. This is a great beach read just in time for summer!

She’s the brutally honest breath of fresh air on The Real Housewives of Beverly Hills, known for her dramatic divorce, her barely-there clothing, and her inability to keep her mouth shut. So why should she change now? Brandi Glanville tells all in this hilarious, no-holds-barred memoir.


I am so excited that the days are warmer, and the sun is deciding to show its face more frequently. For me, this means plenty of days spent outside, soaking up the sun, and burying myself in a good book.

What books have you been unable to put down lately? 

xoxo
K

Basic Editing Using Lightroom 4

I use various programs for photo editing, and Lightroom is quickly becoming my go to software. Its designed perfectly for photographers, with clear and easy to use settings.

Here I will show you how I do a simple edit of a photograph using Lightroom 4.

*Note: I am using lightroom on a Mac, it could be slightly different for a PC, I am not sure though.


Here is my image, unedited.


First and foremost, I always adjust the exposure of the photograph. Luckily, Lightroom has an easy slider that allows you to do this.


Second, if I am satisfied with the exposure, I adjust the clarity. The clarity setting allows you to add a bit more drama to the photograph. This setting is especially great if you have a photograph that has a lot of detail you want to showcase. With portraits, I am not too concerned with texture or drama, so I just bump it a tad.


Moving down the line, I will next adjust vibrance and saturation. First of all, Id like to explain the difference between the vibrance and saturation tools.

The saturation tool will bump up the saturation of the entire photograph, which is great for landscape or colorful shots, but for people? It can be a bit harsh and can leave the subject looking a tad orange.

The vibrance tool will bump up just the more muted colors, leaving the overall saturation alone. This is a subtle way to increase the colors of your photo without affecting your subjects skin tone too much.

As a general rule with people pictures, I will bump up the vibrance and leave the saturation as is. This is what I have done in this photo to bring out the colors in his shirt, as well as the grass in the background.


The next step is playing with the highlights and shadows in your photograph. This is similar to dodging and burning, just emphasizing the light and dark parts of your photograph. I just play with them to see what works, I feel it adds a bit of drama to the photograph, which I like.


Next up, the saturation sliders. This is a tool that gives you more control over the saturation of your photograph, allowing you to only increase the saturation of certain colors in your photograph. I chose to increase the red, blue and yellow in his shirt, as well as the green in the grass. I moved the orange down a tad to keep his skin color looking as natural as possible.


Next I like to play around with the sharpness of the photograph. Like i expressed earlier, portrait photographs are a lot different than landscape, and unlike landscapes, I don't want my portrait to be too sharp, as It can tend to look a little grainy. Don't get me wrong, I like to sharpen my portraits at times to show detail of the face, but with this shot, his face isn't a main focus. Hes in action, so i chose to decrease the sharpening. There is also an option to play with the Noise Reduction of your photograph. Basically what this does, is soften everything up. I increased the softness of this photograph by moving up the noise reduction slider. This just softened up his skin, giving it a slight blur effect.


Lastly, I add a slight vignette. A great photographer once told me, he always adds a slight vignette to the photograph to give it that extra umph. Lightroom is great, because it allows you to control the amount of vignette with a great little slider. I only slide the first slider, which is the vignette amount. I have never messed with the other sliders (this sounds terrible, but i still am not familiar enough with the program to know exactly what they do). 

Now you are done!


See how just a few adjustments can really make your photograph pop? Lightroom is so easy, and allows for quick, and efficient editing for your photographs!


What programs do you use to edit your photographs?


DIY DSLR Pinhole Lens


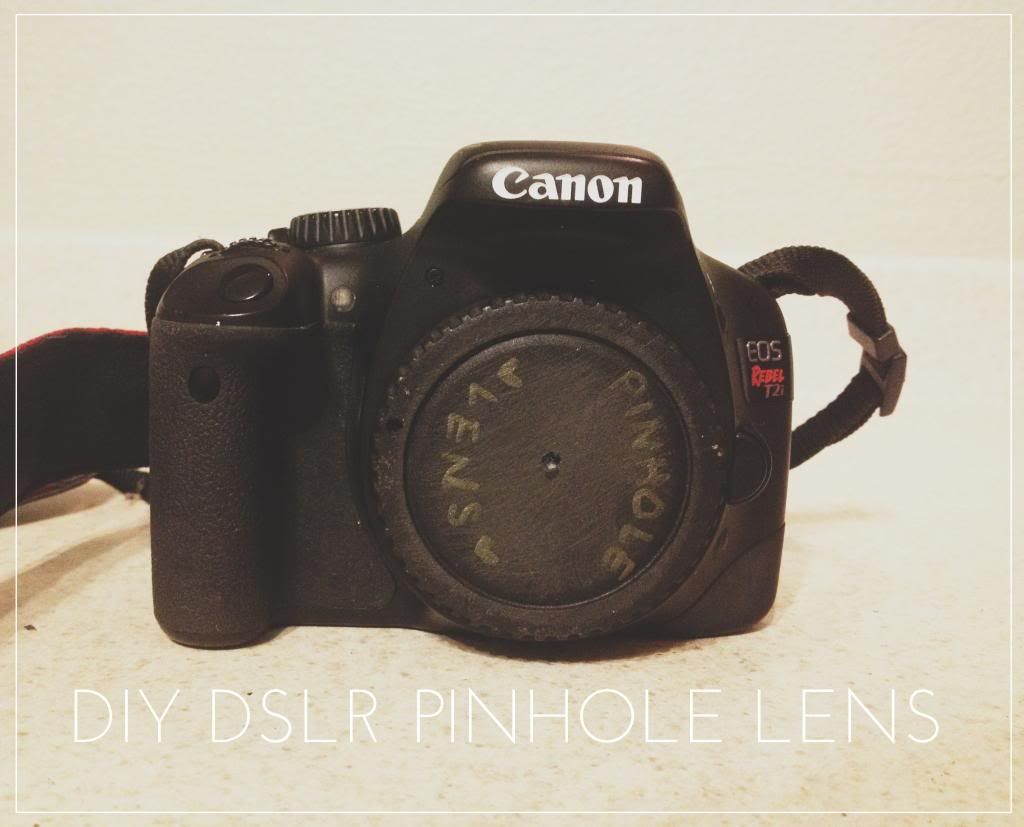
I have been looking for new and fun ways to spice up my photography, and I always love a fun DIY Project. I was thrilled when I found a ton of great instructionals online for a DIY digital pinhole lens for my DSLR.

 It was pretty simple to make, and its a great accessory to have when you want to create dramatic photographs with a vintage touch. 

First let me explain to you exactly what Pinhole Photography is...

Pinhole photography is basically photographing a subject without a lens. The lens is replaced by a tiny pinhole, that allows light to pass through thus creating the photograph.

 Pinhole cameras are super easy to make, and fun to play around with if you have the time and money to develop film. I however, being the impatient woman I am, decided i needed something for my DSLR. I found a lot of different ways online to do this, and so I constructed a pinhole lens out of an old camera cap.

 Ill show you how I did it :)


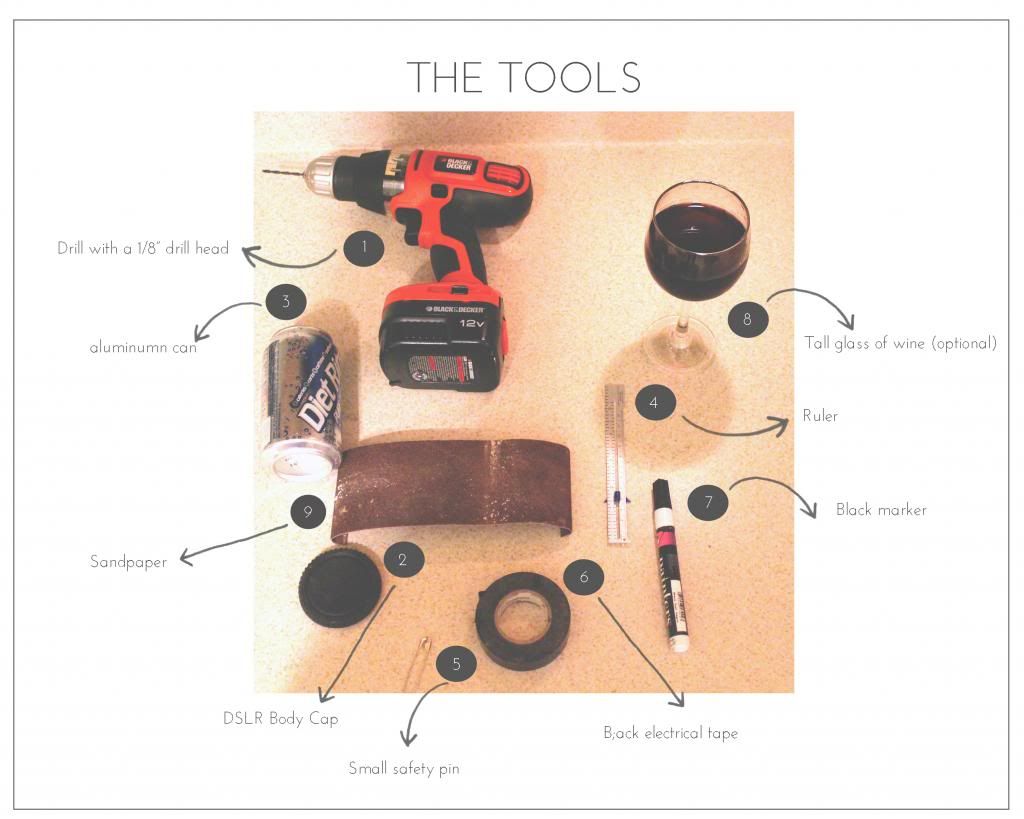
You will need:

  • Drill with a 1/8" drill bit
  • Aluminum Can
  • Sandpaper
  • DSLR Body Cap
  • Small Safety Pin
  • Black Electrical tape
  • Black Marker
  • Ruler
  • Glass of wine (because it makes DIY that much more fun)


STEP ONE: SAND YOUR BODY CAP

This will make drilling a bit easier.
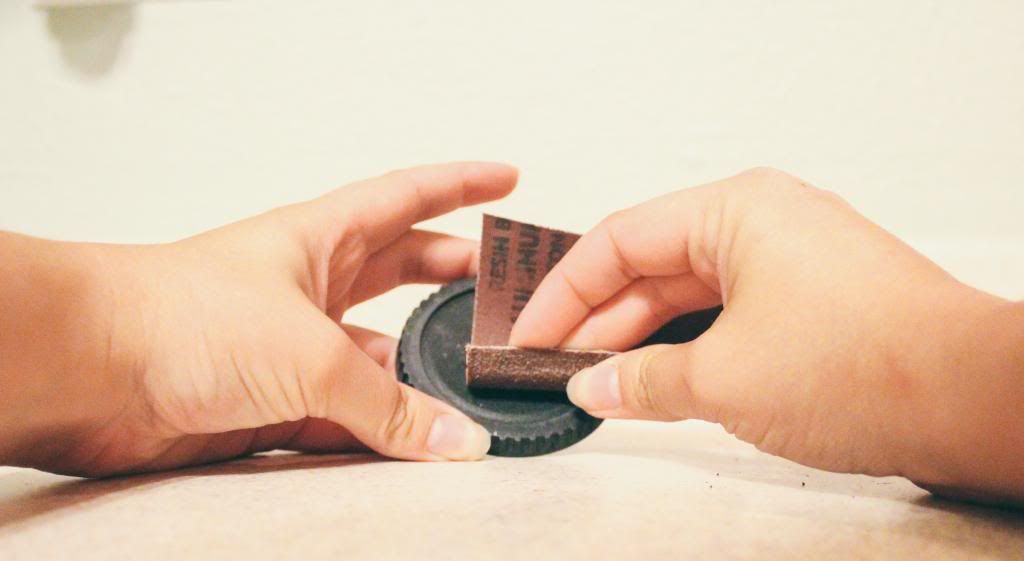
Go ahead and sand the surface of your body cap until the brand name is no longer visible. Smooth it out, it doesnt have to be perfect, just easy enough to work with.


STEP TWO: DRILL A HOLE 

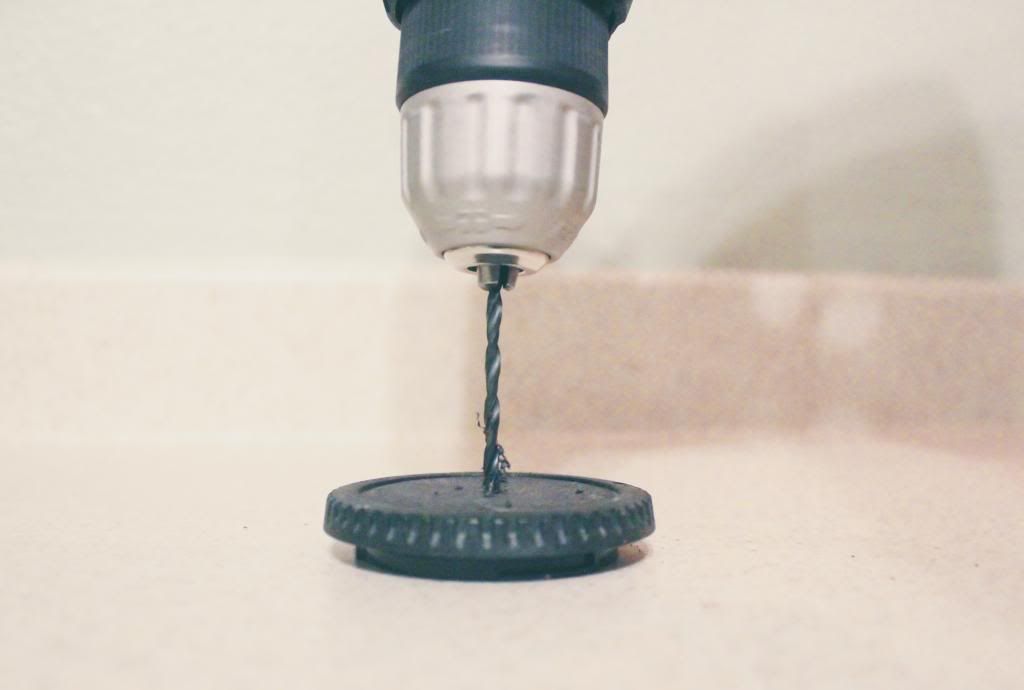
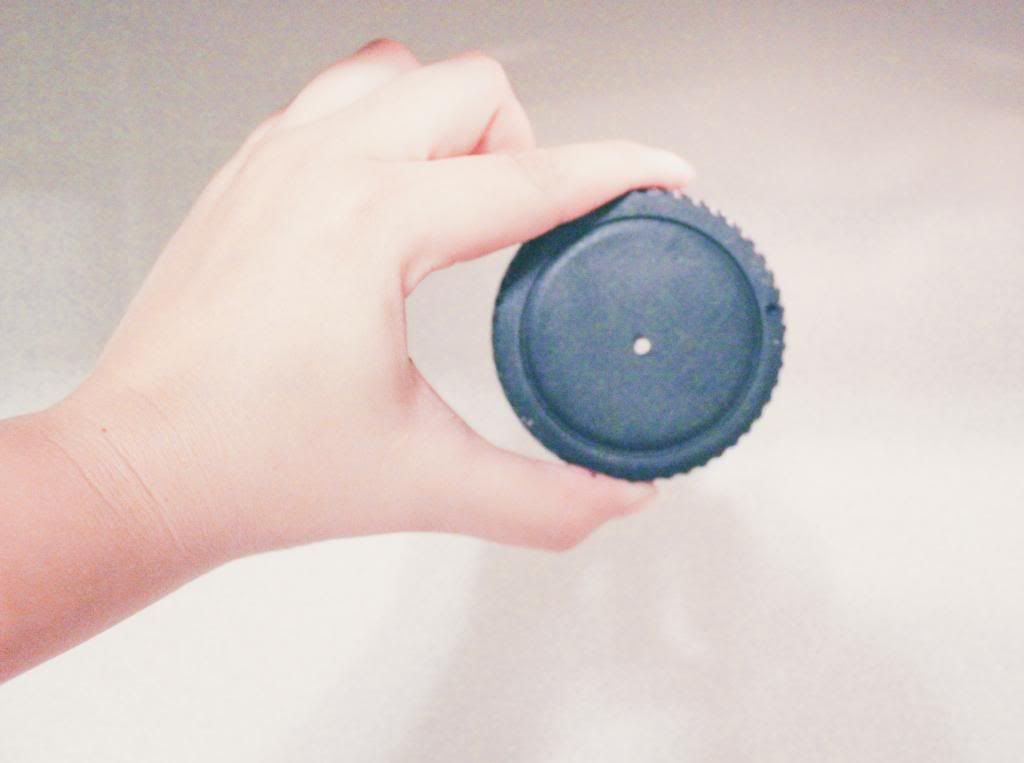
Now, go ahead and drill a hole into the center of your body cap. I used a drill bit with a 1/8" hole. If you dont have a drill, you can get creative and use whatever you have that will make a small hole in the middle of your body cap. Once youre done, hold it up to the light...it should look like this picture below:


STEP THREE: CUT A SMALL SQUARE OUT OF ALUMINUM

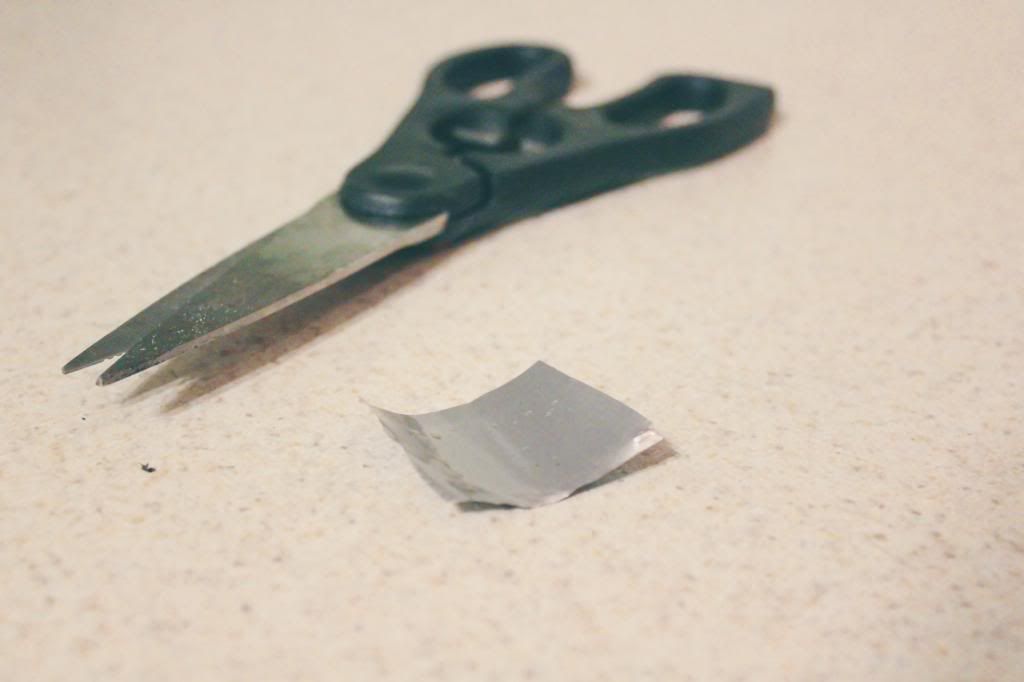
Now we will construct the actual pinhole. To do this, go ahead and cut a small square out of aluminum. I used an old pop can, but you can use whatever you have...preferably aluminum or tin foil.


STEP FOUR: CREATE YOUR PINHOLE
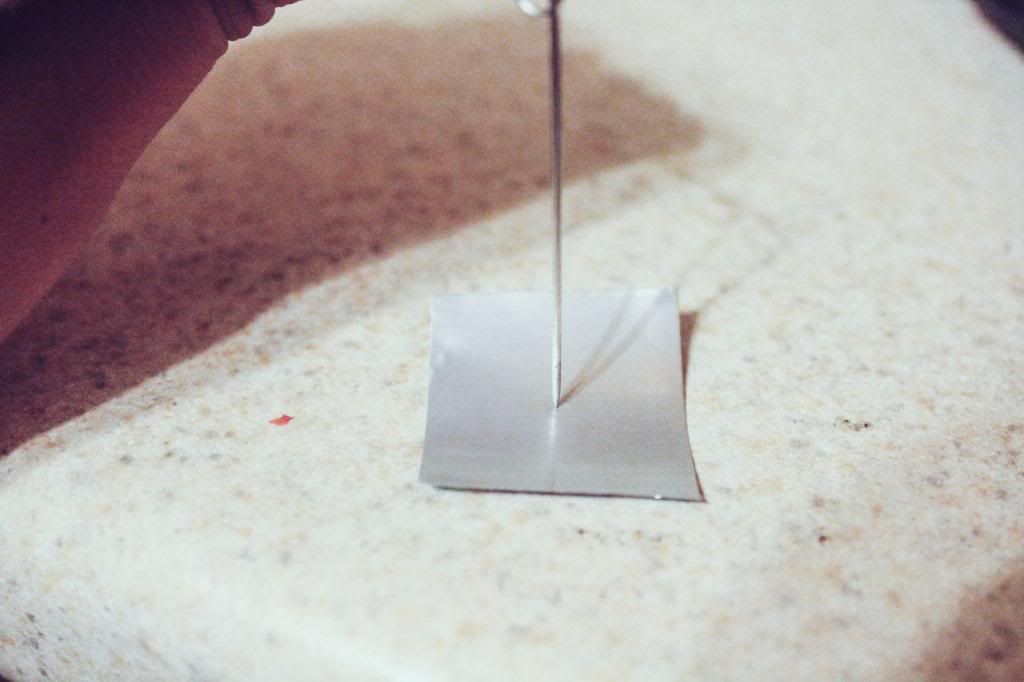
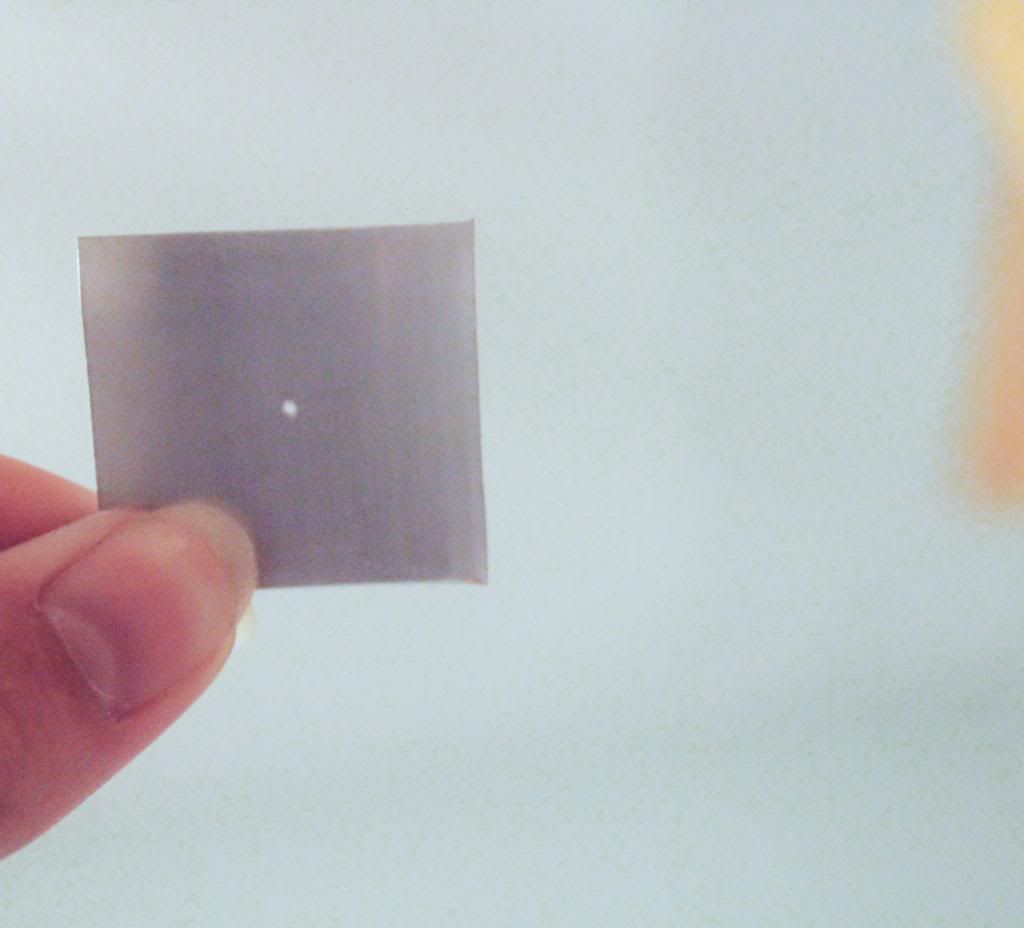
Using a small safety pin, puncture a tiny hole carefully into the middle of your aluminum. A good trick to get a nice circle, push down while slightly twisting at the same time. Hold it up to the light to ensure the circle is perfect. If you do not have a nice circle, you must start over with a new piece of aluminum as it will cause issues in your photographs.


STEP FIVE: SAND DOWN ANY ROUGH EDGES

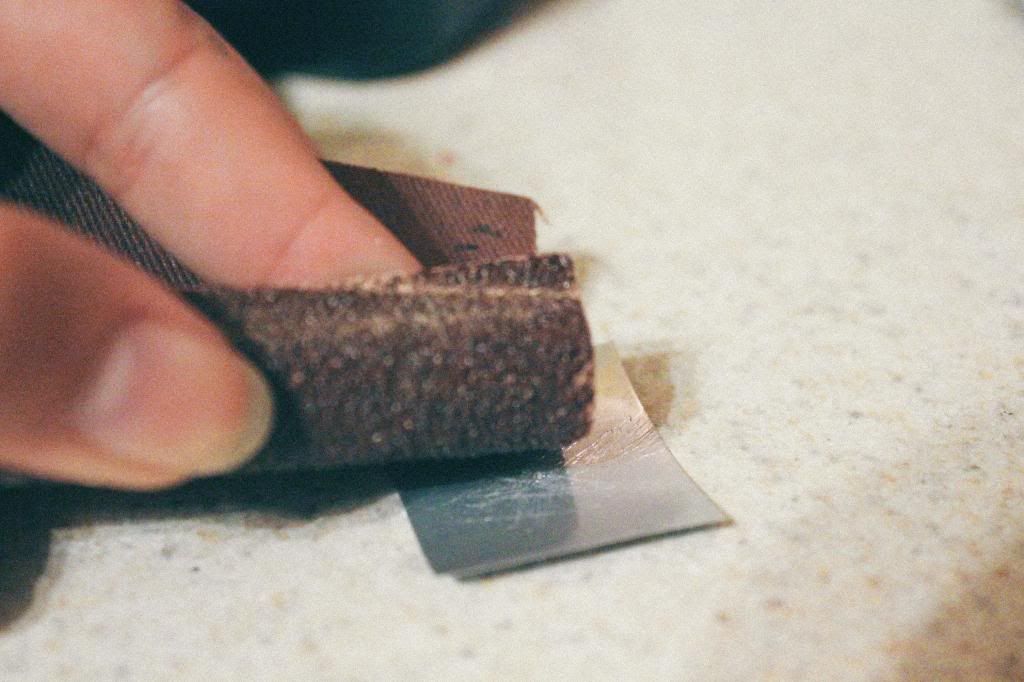
Your aluminum needs to be smooth on both sides of the pinhole, if there are any rough edges, go ahead and slightly sand them down so it creates a smooth surface.


STEP SIX: ATTACH THE PINHOLE TO THE BODY CAP

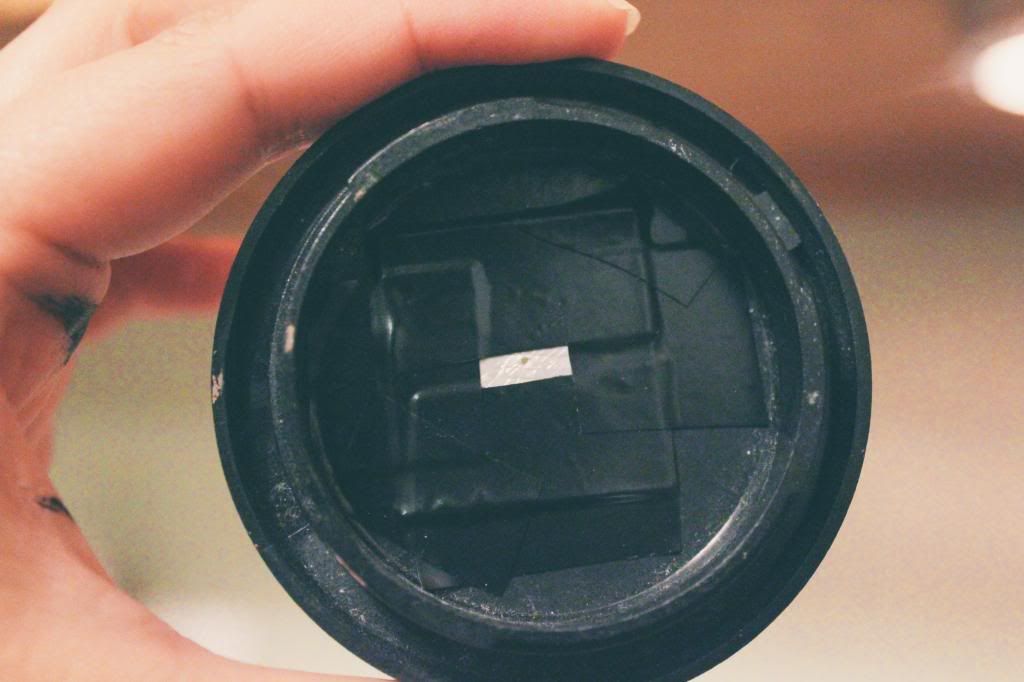
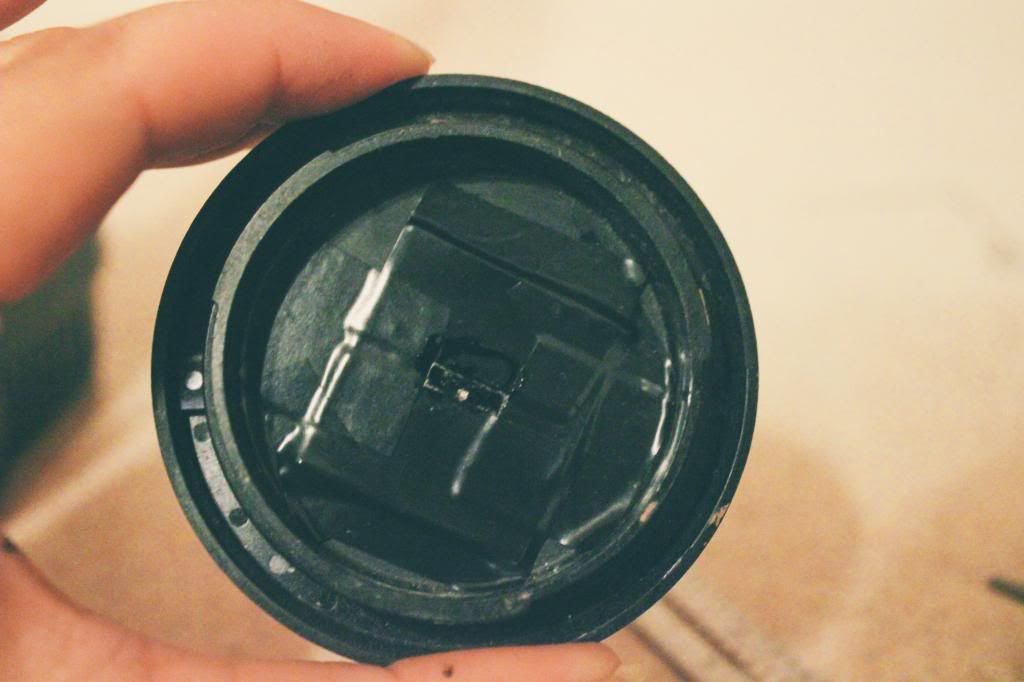
Line up your aluminum pinhole with the hole in the body cap, and tape into place using your black electrical tape. Make sure the pinhole is in the center of the hole in your body cap. It should look like this:


STEP SEVEN: COLOR IN ANY SILVER FROM THE ALUMINUM 

Using your black marker, cover up the rest of the aluminum just to ensure that everything is dark, that way it wont mess with the photograph.


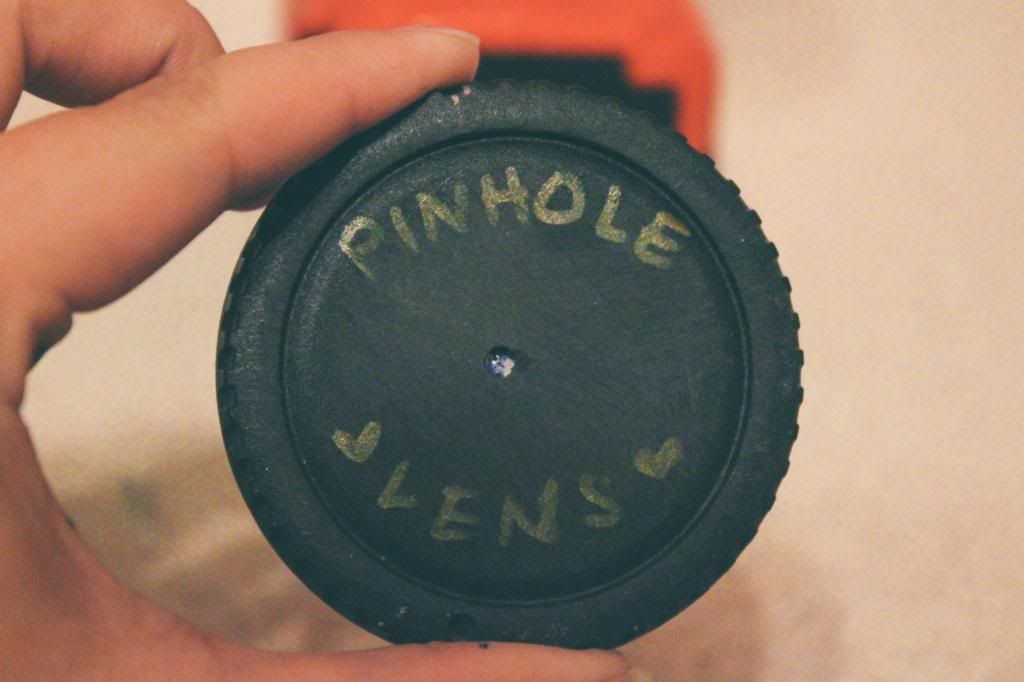
STEP 8: DECORATE

See how that rhymed? lol
This step is totally optional, but I just wrote on the front of mine so I knew it was the pinhole lens. It also made it a little prettier :)


ALL DONE!

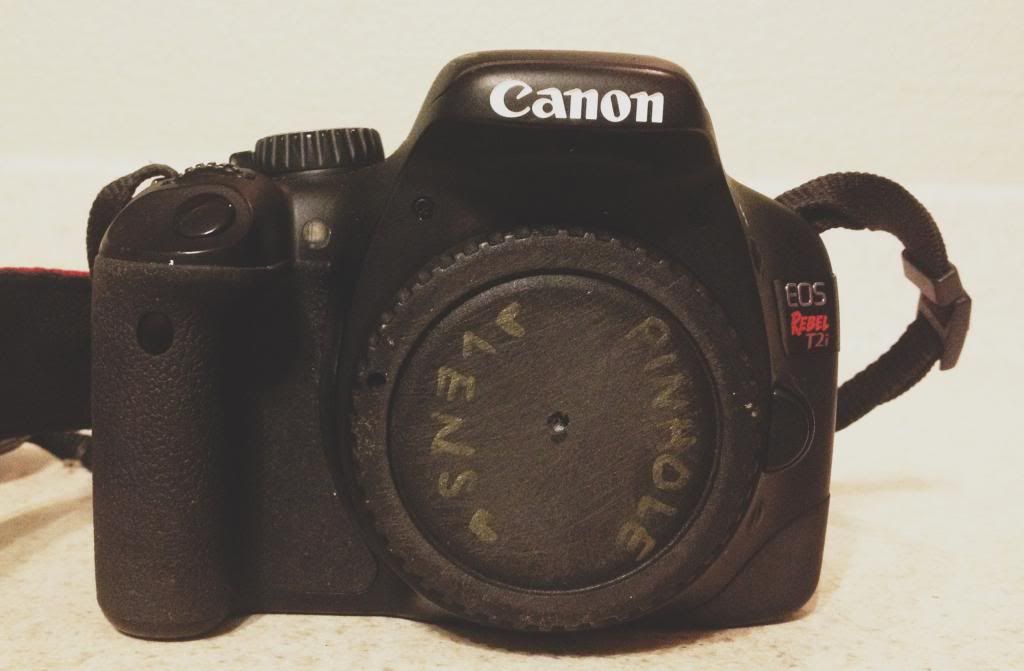
Go ahead and attach your new pinhole lens to your camera! 


TIPS TO SHOOTING PINHOLE PHOTOGRAPHY

- Shoot using an ISO of 100
- You will need to use a very slow shutter speed, I use 0.3 or 0.5
- If your image is way to blurry, your pinhole is probably too big. Detach the aluminum pinhole, and use a smaller pin to create a new hole. The smaller the hole, the less blur you will have in your photographs. 

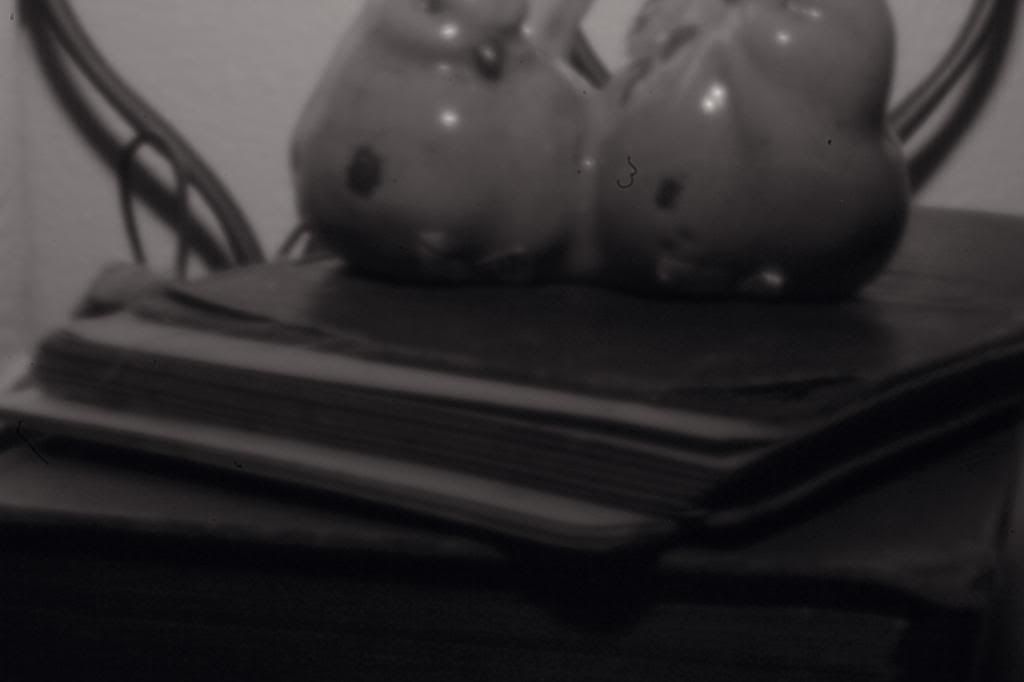
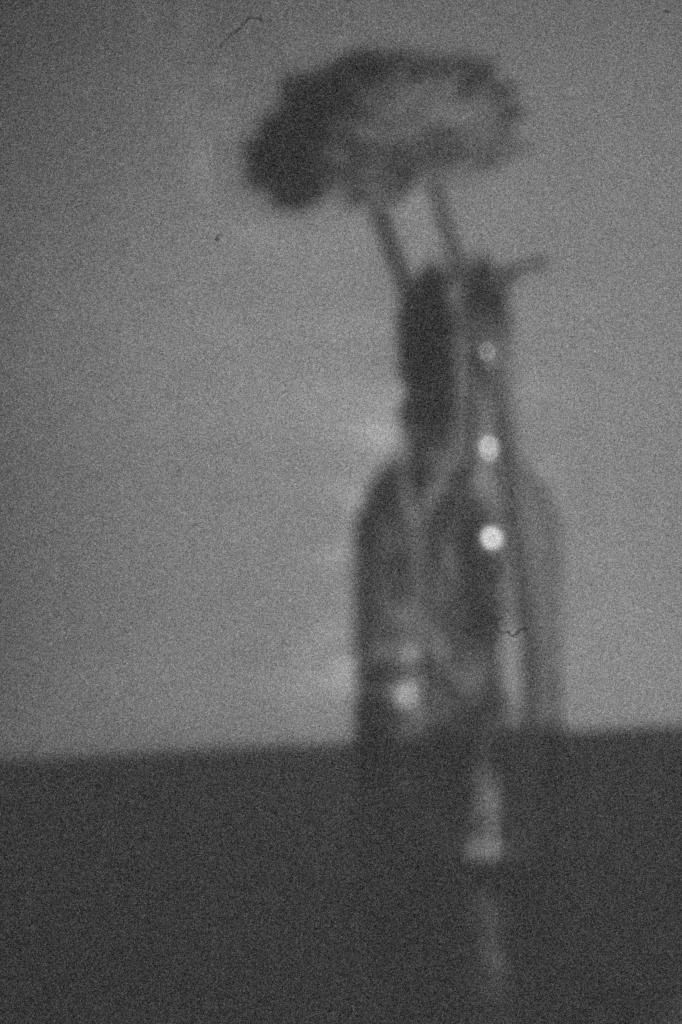
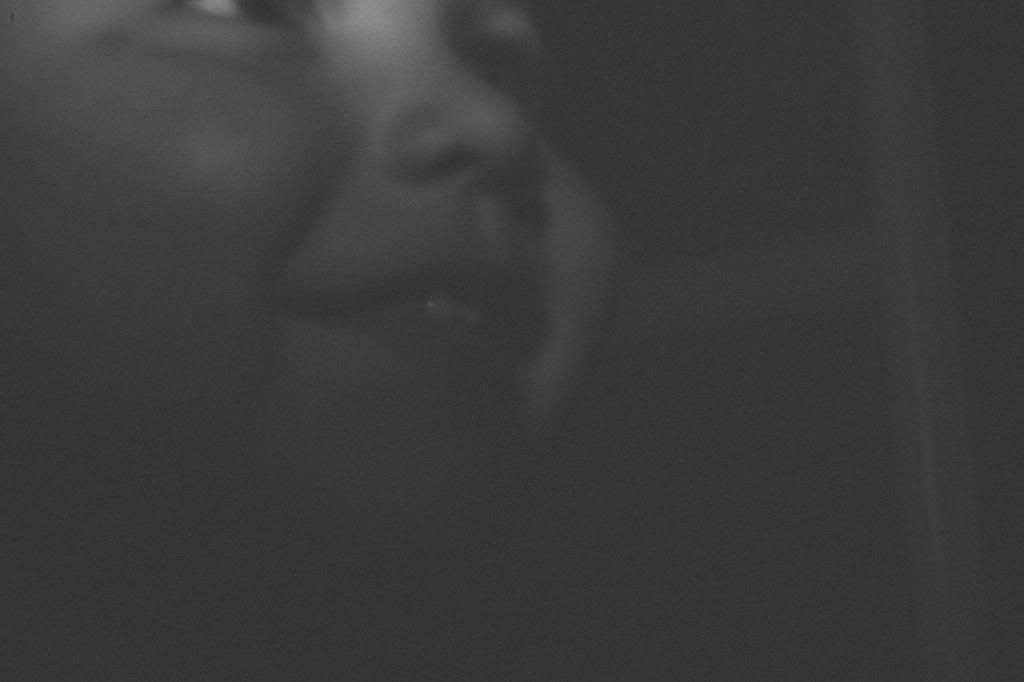
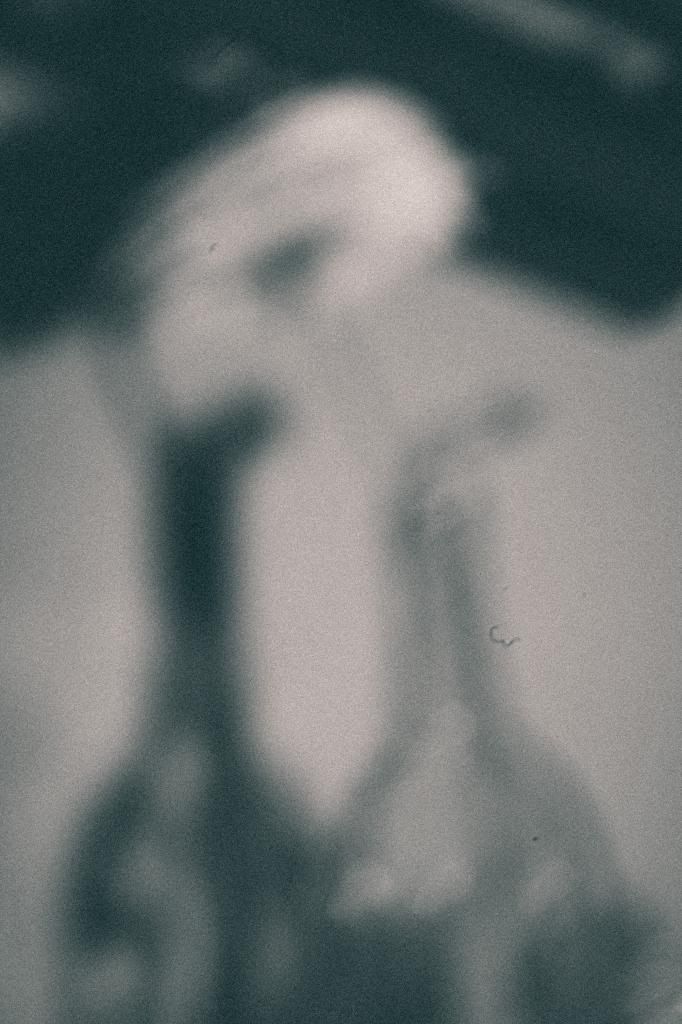
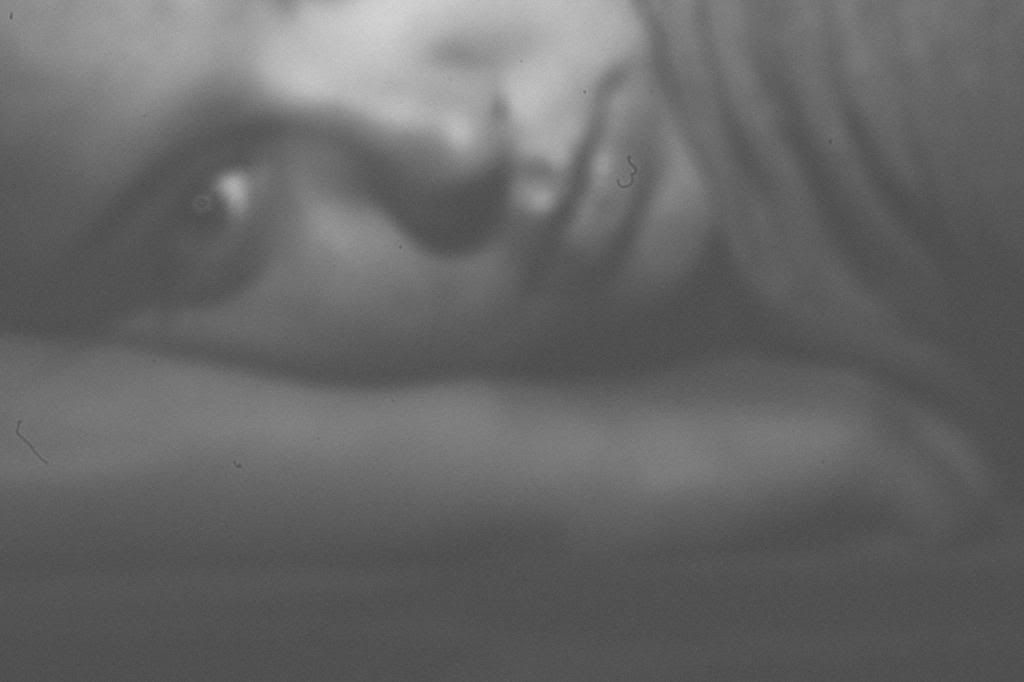
Here are some shots I did...I like my pictures to have a blurry, mysterious effect so I made sure my pinhole was the correct size to do that with. I also love black and white pinhole photography, so I set my photo settings to monochrome on my DSLR so that the pictures came out in black and white.


All in all, pinhole photography is pretty fun to play around with. I like the dreamy, blurred effect it gives my photographs. Its definitely a technique i will have fun playing around with!

Id love to see your pinhole shots, post a link in the comments so I can check them out!

xoxo
K